How to Fix a Sagging Monitor Arm
To fix a sagging monitor arm, first identify the cause. Check the arm’s weight capacity and confirm your monitor’s weight is within those limits.
Inspect screws, bolts, and joints for looseness or damage. Tighten any loose fasteners and replace any stripped or damaged hardware.
Adjust the tension screw or gas spring to better counterbalance the monitor’s weight—turn the tension screw clockwise to reduce sagging.
Verify the monitor mount’s compatibility with your monitor’s VESA pattern to ensure a proper fit and stable connection.
If problems persist, consider investing in a premium mount designed for heavier displays or smoother adjustment, and explore additional support options for ideal performance.
Identifying the Cause of Sagging
When your monitor arm starts to sag, it’s essential to pinpoint the cause to restore its functionality.
First, check the weight capacity of your monitor arm. If it’s rated below your monitor’s actual weight, sagging is inevitable. Adding accessories like cameras increases the load, exacerbating the issue.
Next, inspect the tilt joint for friction loss. Loose pivot bolts can lead to continuous downward tilting. If your arm uses gas springs, verify the tension adjustment is properly calibrated. Misalignment can cause sagging. Additionally, ensure that the monitor mount is rated for the actual weight of your monitor to avoid monitor mount compatibility problems.
Finally, evaluate the upper arm joint. Repeated adjustments can weaken this connection, leading to overall arm sagging.
Identifying these factors will help you address the root cause of the problem effectively.
Adjusting Tension for Optimal Support
Adjusting the tension on your monitor arm is essential for ideal support and functionality.
Start by locating the tension adjustment screw, typically marked with “+” and “-” symbols on the upper arm section. If your monitor sags, increase tension by turning the screw clockwise toward the “+” symbol. Conversely, if the monitor drifts upward, reduce tension by turning the screw counterclockwise toward the “-” symbol.
Hold the arm horizontally while making adjustments; apply pressure to account for the monitor’s weight. Make small adjustments, about a half turn at a time, and test the movement after each change. It is important to ensure the monitor is securely mounted as this activates the spring mechanism.
Your goal is a balanced arm that holds the monitor in place without excessive struggle, ensuring smooth vertical movement throughout its range.
Inspecting Components for Damage
To guarantee your monitor arm functions effectively, inspect its components for any signs of damage.
Start by checking screws and bolts for looseness; these often contribute to sagging. Use an Allen wrench or screwdriver to secure any loose fasteners without over-tightening, which can damage threads.
Next, examine joints and pivot points by gently pressing them; look for wobbling or creaking sounds that indicate wear. Regularly tightening loose screws and bolts can help prevent sagging issues.
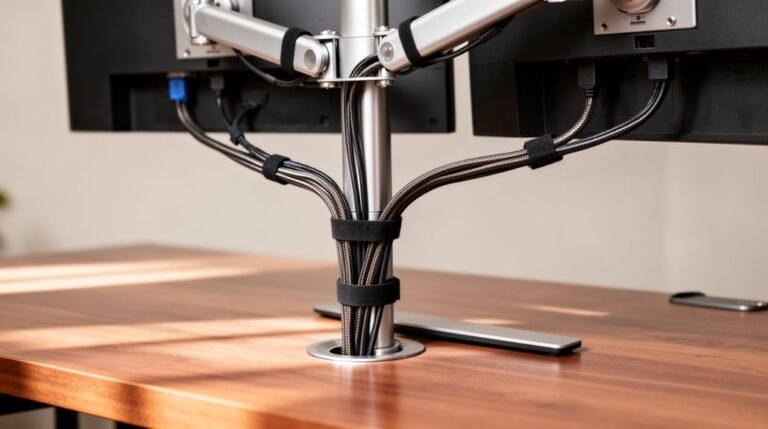
Then, assess cable routing; confirm there’s enough slack to prevent tension and inspect for kinks or pinching.
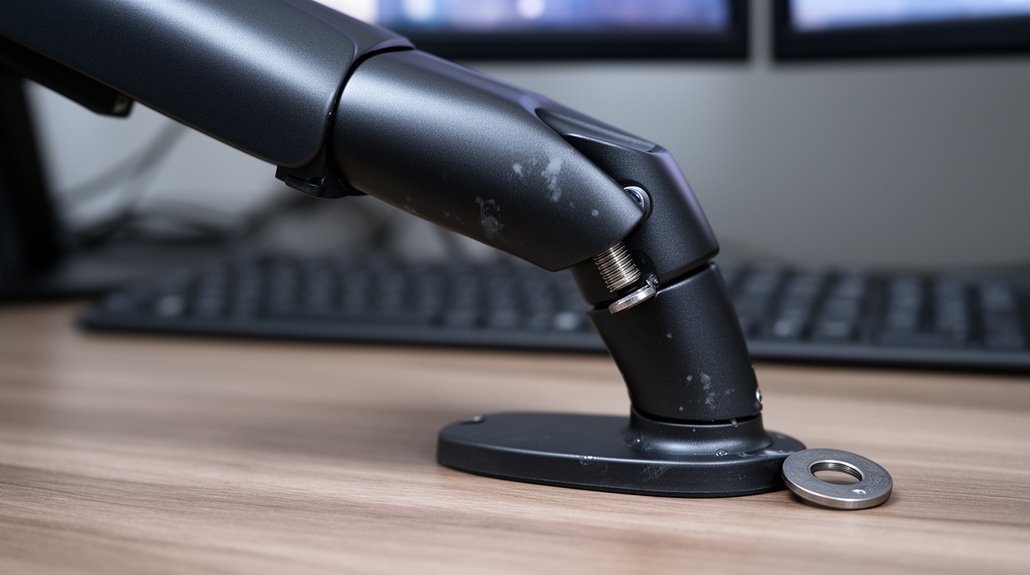
Finally, verify the clamp base attachment; ascertain it’s securely mounted and aligned with the monitor’s center of gravity to distribute weight evenly.
Regular inspections will prolong the life of your monitor arm.
Ensuring Weight Compatibility

Confirming weight compatibility is essential for maintaining your monitor arm’s performance and stability. Start by checking the weight capacity listed by the manufacturer. Exceeding this limit can cause sagging or even failure.
Here are key considerations:
- Determine your monitor’s weight without the stand from specifications or a reliable scale.
- Verify the VESA pattern of your monitor matches the arm’s specifications to maintain stability.
- Factor in any additional weight from accessories like webcams or light bars.
- Always add a safety margin, avoiding the maximum rated capacity to prevent strain.
Implementing Stability Solutions
While you may find your monitor arm sagging, several stability solutions can restore its performance.
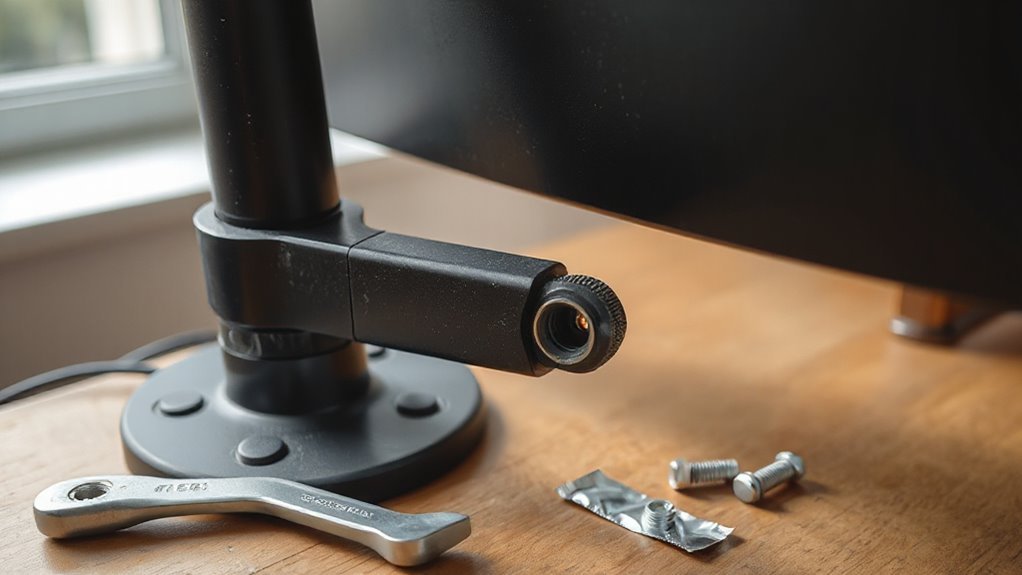
First, adjust the counterbalance tension using the included Allen wrench. Tightening or loosening this joint allows you to customize it based on your monitor’s weight, helping maintain stability.
Next, consider investing in premium mounts. These mounts, tested for safety and performance, greatly reduce wobble compared to budget options.
For mounting hardware, grommet mounts offer permanent stability, while C-clamp options provide flexibility.
Additionally, monitor positioning is vital; keeping monitors close to support posts minimizes bounce.
Finally, verify the desk is secure and assess the mounting point’s robustness.
These actions collectively enhance the arm’s stability and prevent future sagging.
Performing Preventive Maintenance
Performing preventive maintenance on your monitor arm is essential for guaranteeing its longevity and peak performance.
Regular checks help maintain smooth operation and prevent issues. Here are key maintenance tasks to take into account:
- Tighten loose screws and bolts monthly to prevent movement issues.
- Adjust tension screws near joints for smooth arm movement, making small adjustments as needed.
- Clean and remove dust from the arm regularly, especially around moving parts, to preserve functionality.
- Inspect cables and cable management systems to verify they’re secure and free from wear.
Upgrading Your Monitor Arm
Upgrading Your Monitor Arm
Upgrading your monitor arm can greatly enhance your workspace’s functionality and stability. First, consider a higher-capacity arm, especially if you own heavy monitors like the Samsung G9. These arms, such as the AVLT Single, support weights up to 50.7 lbs, preventing sagging.
Gas spring arms provide smoother adjustments compared to mechanical ones, making them ideal for frequent use.
If you need multiple screens, switch to dual or multi-monitor arms. These distribute weight evenly, reducing stress on joints. Options like the Ergotron LX Dual Stacking offer vertical flexibility.
Lastly, select arms with advanced adjustment technology, like Constant Force™, for effortless movement, and verify they’re compatible with your monitor’s VESA pattern for peak functionality.
Considering Alternative Mounting Options
If you’ve upgraded your monitor arm but still face space constraints or compatibility issues, exploring alternative mounting options can help optimize your setup.
Consider these methods:
- Non-VESA mount adapters convert non-VESA monitors to compatible setups using specialized brackets.
- Monitor stands provide a freestanding base for monitors that lack VESA support, allowing easy relocation.
- Pole mounts attach monitor arms to vertical poles, offering height adjustment for enhanced ergonomics.
- Wall mounts secure monitors directly to walls, maximizing desk space and decluttering your workspace.
Each of these options presents unique benefits tailored to various needs.
Frequently Asked Questions
How Often Should I Check My Monitor Arm for Sagging?
You should check your monitor arm for sagging at least once a month.
Monthly inspections allow you to identify loose screws, worn joints, or stiffness. If you use your monitor heavily, consider checking bi-weekly or weekly.
Dusty environments or older monitor arms may require more frequent attention.
Regular checks help prevent sagging, reduce wear, and prolong the monitor arm’s lifespan, ensuring peak performance and stability during use.
Can a Sagging Monitor Arm Cause Damage to My Monitor?
Yes, a sagging monitor arm can damage your monitor. It stresses the mounting points, risking cracks or deformation.
Misalignment from sagging leads to awkward viewing angles, increasing glare and eye strain. The instability causes vibrations, disrupting focus.
If the arm exceeds weight limits, it can permanently deform both the arm and monitor. Ignoring these issues may void warranties and greatly shorten your monitor’s lifespan, ultimately compromising its performance and usability.
Are There Specific Brands Known for Better Monitor Arm Durability?
Ergotron and Humanscale are known for their durability.
Ergotron’s LX and HX models undergo rigorous testing, supporting monitors up to 34 inches with solid construction. The LX model offers a wider range of motion.
Humanscale’s M8.1 and M10 are recognized for refined designs and quality materials.
Budget options like Vivo and Monoprice provide heavy-duty support at lower price points but may lack aesthetic refinement.
Prioritize these brands for reliable performance and longevity.
What Tools Are Needed for Adjusting Monitor Arm Tension?
To adjust monitor arm tension, you’ll need a few essential tools. First, gather Allen wrenches, commonly 2.5mm, 3mm, and 4mm sizes, for screw adjustments. A Philips screwdriver may also be necessary for tilt friction.
Use a stack of books or a box to support the monitor during adjustments, preventing sagging. Mark screw positions with a marker to track your adjustments.
Finally, verify the monitor is securely mounted before making any changes, guaranteeing accurate tension settings.
Is Professional Installation Recommended for Heavy Monitor Arms?
Yes, professional installation is recommended for heavy monitor arms.
These arms support substantial weights, demanding secure attachment to prevent accidents. Professionals guarantee proper alignment, reducing risks associated with improper setup.
They possess the expertise to handle complex multi-jointed mechanisms and VESA specifications. Additionally, they can optimize ergonomic positioning, enhancing user comfort.
This service minimizes long-term maintenance issues, extending the lifespan of both the monitor arm and the monitor itself, ultimately fostering productivity.
Conclusion
Ultimately, addressing a sagging monitor arm requires a systematic approach.
Start by identifying the cause, then adjust the tension to restore support.
Inspect all components for damage and verify that the arm is compatible with your monitor’s weight.
Consider additional stability solutions, perform regular maintenance, or upgrade to a more robust model.
If issues persist, alternative mounting options could offer a long-term fix.
Don’t let a sagging arm disrupt your workspace—take action now to restore functionality and comfort.