How to Adjust Your Monitor Arm Properly
To adjust your monitor arm properly, start by setting the top of your screen at or slightly below eye level. Position your chair so your feet are flat on the floor and your knees are below hip level.
Confirm your monitor is 20 to 28 inches away to enhance comfort. Adjust the tilt of the screen backward between 10 to 20 degrees to minimize glare.
Fine-tuning these settings can improve your overall setup, leading to better ergonomics and productivity. There’s more to explore on optimizing your workspace.
Understanding Monitor Height Adjustment
Position the top of your monitor screen at or slightly below eye level. Ideally, your eyes should align with a point 5-10 cm below the top edge, reducing neck strain. This setup allows you to look straight ahead or slightly downward, minimizing neck flexion. Adjust your chair height so your feet rest flat on the floor, with knees just below hip level. Guarantee your desk height allows elbows to bend at approximately 90 degrees while using the keyboard and mouse. Utilize monitor arms for precise adjustments, assuring stability. Proper height is essential to prevent additional neck and back strain while working. If using multiple monitors, stack them carefully to maintain eye level on your primary screen. These adjustments promote ideal posture and reduce muscle strain over time.
Optimal Monitor Distance for Eye Comfort
How far should you sit from your monitor to guarantee eye comfort? The ideal viewing distance ranges from 20 to 30 inches (51 to 76 cm), which is generally about an arm’s length away.
For those seeking additional comfort, extending this distance up to 40 inches (around 100 cm) can further reduce eye strain.
Consider these points for ideal distance:
- Maintain a distance of 20 to 28 inches (51 to 71 cm) as recommended by the American Optometric Association.
- Make sure screens are placed at least 60 cm (about 24 inches) away to minimize digital eye strain symptoms.
- Adjust the monitor position to avoid forward leaning, promoting better neck and back posture. Proper monitor placement is essential for overall well-being and comfort while working.
Adjusting Monitor Tilt and Angle
Adjusting your monitor’s tilt and angle is essential for achieving perfect comfort and reducing eye strain.
Start by tilting the screen backward about 10 to 20 degrees. This angle minimizes glare and enhances visibility. For maximum glare reduction, you can tilt up to 40 degrees if necessary.
Use the tilt friction adjustment screw near the VESA mount to control how easily the monitor tilts. Fine-tune this by using an appropriate Allen key to achieve the desired tension. Regularly check all connections and adjustments to ensure the monitor remains stable and is positioned correctly.
If the monitor tilts upward unintentionally, decrease the tension; if it sags, increase the tension.
Regularly reassess your settings, adjusting as lighting conditions and seating posture change throughout the day to maintain ideal viewing comfort.
Centering and Aligning Your Monitor
Centering and aligning your monitor is essential for reducing neck and shoulder strain. To achieve proper alignment, follow these steps:
- Vertical Positioning: Adjust the monitor arm height so the center of the screen is at or slightly below eye level. Your eyes should meet the screen 2-3 inches below its top edge, promoting a neutral head position.
- Horizontal Alignment: Position the monitor directly in front of your body’s midline. This prevents unnecessary twisting of your neck and shoulders.
- Distance Management: Maintain a viewing distance of 18-28 inches. This distance balances visibility and comfort, ensuring you don’t lean forward or crane your neck.
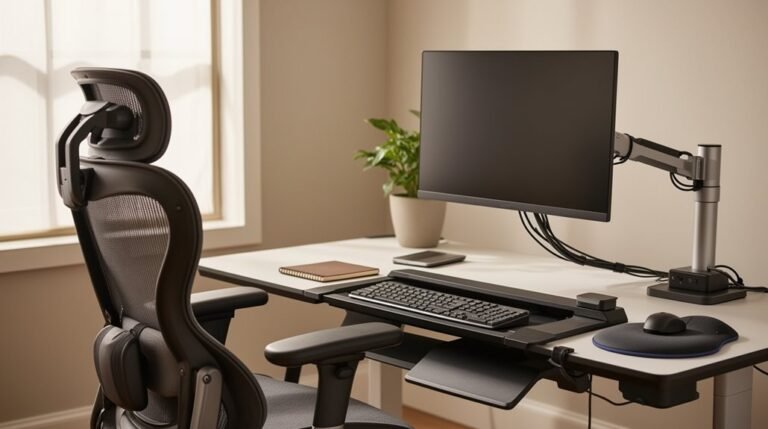
Benefits of Using Adjustable Monitor Arms
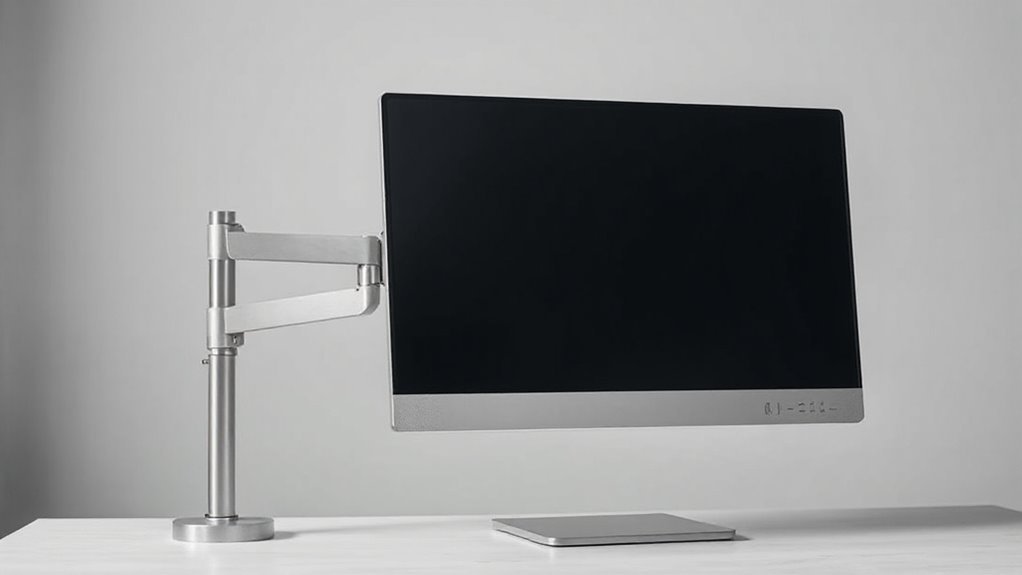
Using adjustable monitor arms can greatly enhance your workspace and overall comfort. They significantly reduce neck and shoulder discomfort, with users reporting up to 65% relief in musculoskeletal issues.
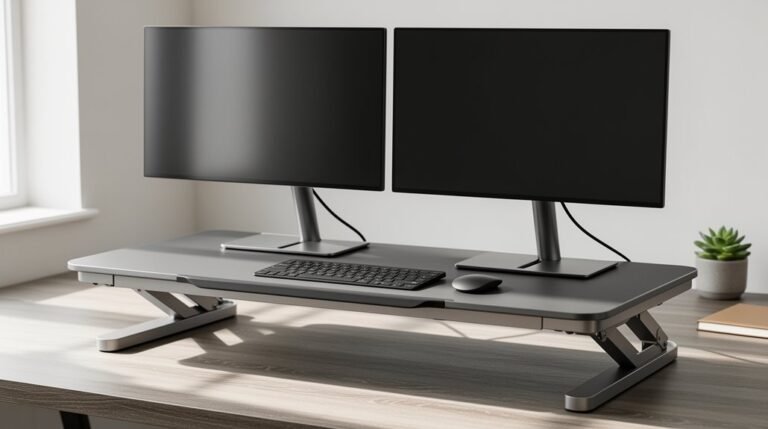
By positioning screens at eye level, you promote better spinal alignment, which helps prevent slouching. Adjustable arms also free up valuable desk space, enhancing workflow efficiency.
Their ability to accommodate different tasks, like shifting between sitting and standing, supports productivity. Furthermore, proper height adjustments can decrease digital eye strain and related headaches.
With customizable tilt angles, you minimize glare and improve screen visibility. Overall, adjustable monitor arms provide a versatile solution for a healthier, more organized, and productive workspace.
Ergonomic Considerations for Your Setup
To create an ergonomic workspace, proper monitor positioning is essential for reducing discomfort and enhancing productivity. Follow these guidelines to improve your setup:
- Monitor Height: Position the top of your monitor screen at or slightly below eye level. Use the “two-finger rule” to check alignment.
- Viewing Distance: Maintain an arm’s length (50-65 cm) from the screen. Adjust based on screen size, guaranteeing a minimum of 20 inches.
- Tilt and Swivel: Tilt the monitor back 10-20 degrees to reduce glare. Confirm the screen is perpendicular to your sight line for ideal viewing.
Frequently Asked Questions
How Often Should I Reassess My Monitor Arm Settings?
You should reassess your monitor arm settings every 30 to 60 minutes. Frequent adjustments prevent stiffness and muscle fatigue, especially during extended work sessions.
Additionally, consider reassessing when changing tasks, such as switching from reading to video conferencing.
Monitor height should align with the “two-finger rule,” ensuring ideal ergonomic positioning.
Finally, adjust based on lighting conditions and personal comfort to maintain eye health and reduce strain throughout your workday.
Can I Use a Monitor Arm With Any Monitor Size?
No, you can’t use a monitor arm with any monitor size. Monitor arms have specific size ranges, typically supporting screens from 13” to 32”.
Exceeding this range can lead to instability. Additionally, monitor weight matters; arms have maximum weight capacities that must be respected.
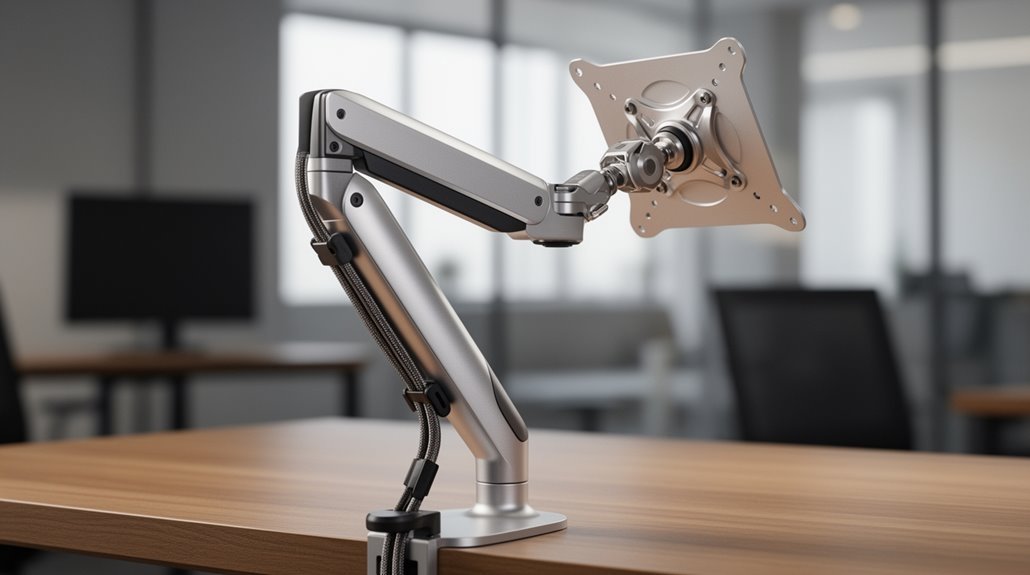
Confirm your monitor’s VESA pattern matches the arm’s compatibility, as larger monitors may require specialized mounts or adapters.
Always check specifications before purchasing to confirm a proper fit.
What Weight Limit Should I Consider for a Monitor Arm?
When choosing a monitor arm, consider the weight limit carefully. Most arms support between 4.4 lbs (2 kg) and 44 lbs (20 kg).
Verify that the arm’s capacity exceeds your monitor’s actual weight, including any accessories. Remember, deeper or curved monitors create more torque, requiring higher weight limits.
Always account for maximum extension length and avoid exceeding recommended sizes for stability. Selecting an arm with a higher capacity guarantees better performance and longevity.
Are There Specific Brands Recommended for Adjustable Monitor Arms?
Approximately 70% of users prioritize adjustability in monitor arms.
For versatile options, consider the Herman Miller Jarvis, which offers easy setup and broad compatibility.
The Ergotron LX supports larger monitors and provides extensive motion range.
If you need dual-monitor support, the Vari Dual-Monitor Arm is robust, while Humanscale models deliver premium ergonomic adjustments.
Budget-friendly choices like North Bayou also deliver decent functionality, catering to different user needs.
How Do I Install a Monitor Arm Securely?
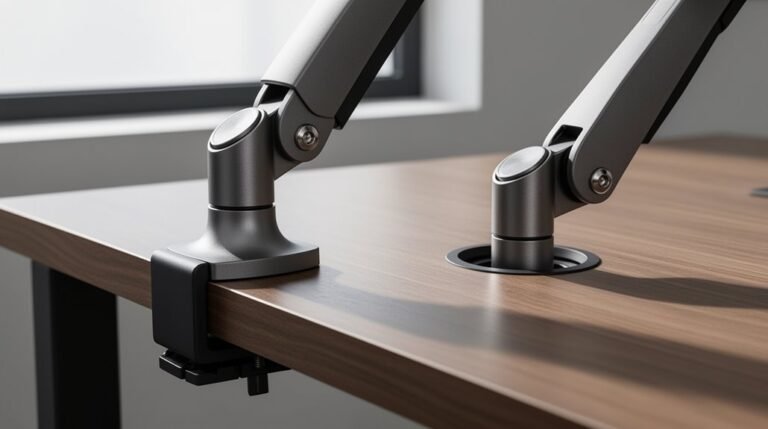
First, identify your desk’s mounting compatibility: clamp or grommet.
For clamp mounts, tighten screws without damaging the desk.
For grommet mounts, drill a suitable hole and secure the grommet base.
Next, attach the monitor arm using manufacturer screws, ensuring they’re snug.
Hang the monitor on the arm’s VESA mount, checking for a secure lock.
Finally, route cables to avoid tangling and confirm all components are firmly in place before use.
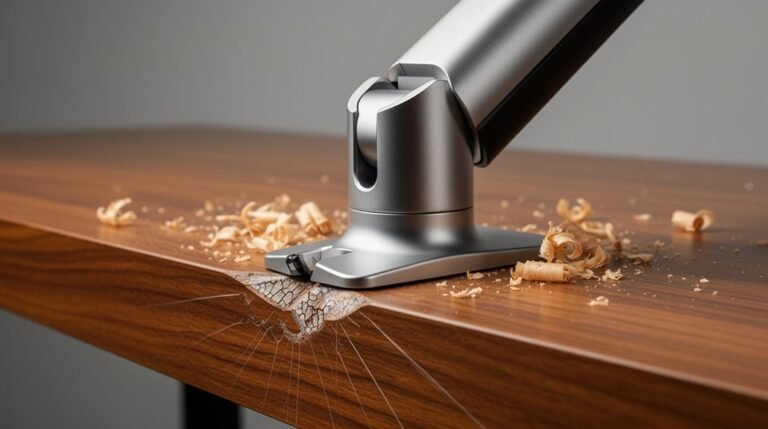
Conclusion
To conclude, adjusting your monitor arm properly enhances your workspace’s functionality. A correctly positioned monitor reduces eye strain, while an improperly set one can lead to discomfort.
Prioritize height, distance, tilt, and alignment for ideal ergonomics. The right adjustments not only improve comfort but also boost productivity.
By investing time in these adjustments, you create a balanced environment that supports both health and efficiency. This contrasts the challenges of a poor setup with the benefits of proper alignment.