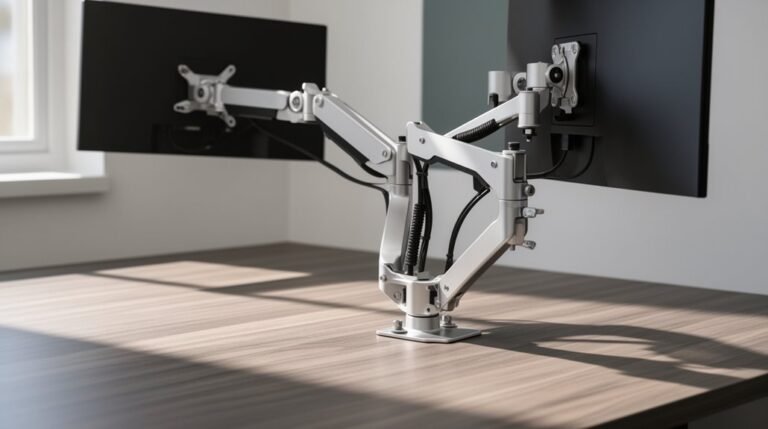
How to Adjust a Monitor Arm Tension

How to adjust a monitor arm tension starts with identifying the arm’s mechanism. Some arms use a hex wrench system with a visible hex screw, while gas-spring or spring-assisted designs require different calibration methods.
Securely mount your monitor before making adjustments. Locate the tension adjustment knob or screw and remember the usual rule: clockwise increases tension, counter-clockwise decreases it.
Make small adjustments and test the monitor’s movement after each change. Confirm the monitor stays in place without drifting or sagging and that the arm operates smoothly.
If needed, repeat fine adjustments until the monitor remains stable at the positions you use most.
Identifying the Tension Adjustment Mechanism
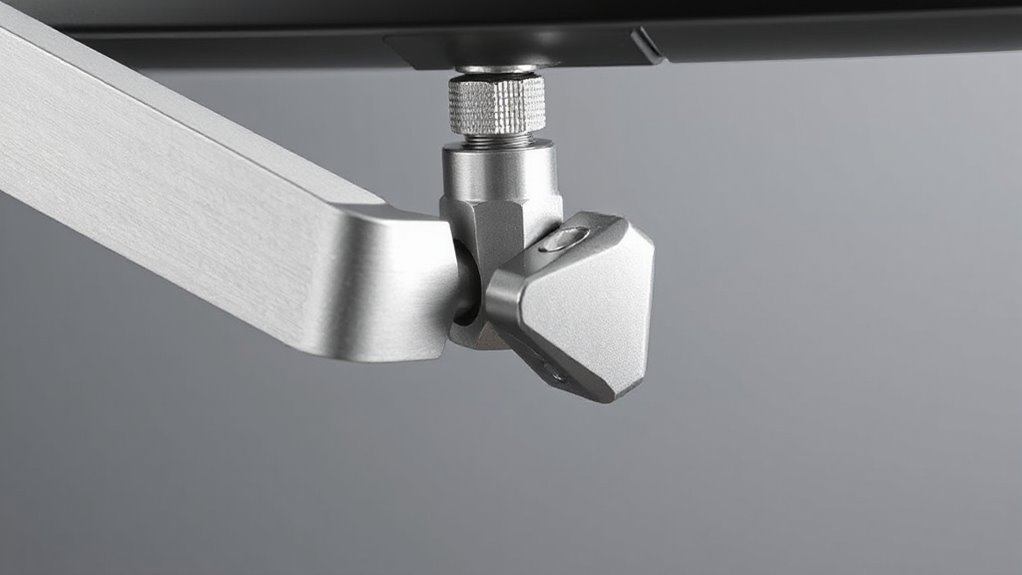
To adjust your monitor arm’s tension effectively, first, you need to identify the specific tension adjustment mechanism it employs.
Common systems include hex wrench, gas spring, and spring-assisted mechanical designs. Hex wrench systems typically feature a single hex screw located at the arm base, allowing you to modify tension by rotating clockwise for increases and counter-clockwise for decreases. Fingertip-adjustable monitor arms allow for easy movement and positioning of the display, enhancing user experience.
Gas spring mechanisms offer finger-touch height adjustments, with directional indicators guiding tension levels.
Spring-assisted systems utilize built-in gauges for weight adjustments, often requiring time for fine-tuning.
Understanding your monitor arm’s mechanism is vital for effective calibration, ensuring smooth movement and proper support for your monitor’s weight.
Identify the mechanism to proceed with precise adjustments confidently.
Understanding the Purpose of Tension Adjustment
Understanding the purpose of tension adjustment in monitor arms involves recognizing its vital role in ergonomics, productivity, and safety.
Correct tension maintains your monitor at the desired height, preventing it from drifting or sagging. This stability supports healthier posture, allowing you to position the monitor at eye level, which reduces neck flexion and torso strain. Proper tension also prevents musculoskeletal discomfort, mitigating issues like neck and shoulder pain. Additionally, having the monitor in a central field of vision promotes optimal viewing angles that enhance comfort during extended work sessions.
Furthermore, balanced tension promotes an upright posture, countering slouching during extended use. Regarding productivity, correct arm tension enables quick repositioning for various tasks, minimizing distractions.
Step-by-Step Process to Adjust Monitor Arm Tension
Adjusting the tension on your monitor arm is essential for ideal performance and comfort.
Start by securely mounting your monitor onto the arm using the VESA plate. Verify all arm sections are assembled and attached to the base.
Locate the tension adjustment screw, typically marked with “+” and “-” symbols, usually on the upper arm section. Use the provided Allen key or hex wrench to adjust.
If the monitor sags, turn the screw clockwise to increase tension; if it rises, turn counter-clockwise to decrease tension. Ensure the adjustment tools are available before you begin to make the necessary adjustments.
Make small adjustments, about half a turn at a time. Test movement after each adjustment by gently moving the monitor.
Always refer to the manufacturer’s instructions for specific details related to your model.
Testing and Fine-Tuning After Initial Adjustment
After completing the initial tension adjustment, it’s crucial to test the monitor arm‘s movement and responsiveness.
Start by performing a gentle up-and-down motion. This helps evaluate the arm’s behavior. Your monitor should stay at the desired height without drifting or sagging. Smooth movement throughout the range indicates proper tension.
If you notice any of the following, further adjustments may be necessary:
- Monitor drifts upward without support.
- Arm is difficult to lower or requires excessive force.
- Resistance increases when repositioning the display.
- Monitor sags or droops under its weight.
- Movement feels stiff or jerky.
Continue testing and fine-tuning until the monitor “floats” smoothly at any height, ensuring it remains stationary when released.
Variations and Special Cases in Tension Adjustment
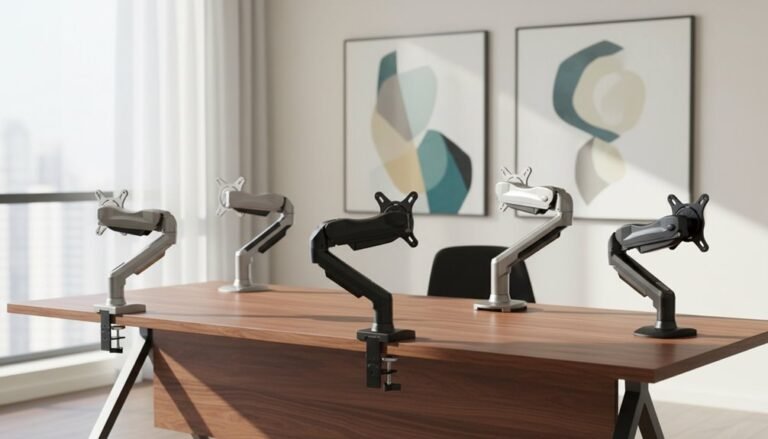
Variations in monitor arm designs can greatly affect how you adjust tension.
Articulating monitor arms like the Evo and Stealth series lack built-in tension adjustment screws, requiring you to loosen the arm from the pole with an Allen key for height changes. These models depend on arm design and monitor weight for balance.
In contrast, self-adjusting tension models, such as the Arctic and Revo series, utilize a spring mechanism that automatically adapts to the monitor’s weight upon activation.
Gas spring monitor arms feature an adjustable tension screw marked with “+” and “-” symbols, allowing precise tuning. Additionally, some models have friction-based tilt adjustment screws for customizing screen angles without affecting overall height.
Be mindful of special cases needing forced access to adjustment points.
Frequently Asked Questions
Can I Adjust the Tension Without Removing the Monitor?
Yes, you can adjust the tension without removing the monitor. Most monitor arms have accessible tension adjustment screws while the monitor is attached.
To guarantee safety, support the monitor with books or a stable surface during adjustment. Locate the tension screw near the hinge, loosen it if the arm sags, or tighten if it rises too easily.
Adjust incrementally and test the arm’s movement until you achieve the desired tension.
What if My Monitor Arm Doesn’t Have a Tension Adjustment Screw?
If your monitor arm doesn’t have a tension adjustment screw, it operates like a bicycle without gears—limited in flexibility.
You can adjust the position by locating the joint bolts or knobs at each pivot point. Loosen the bolts with an Allen key or screwdriver, reposition the arm, and then tighten them to lock.
How Often Should I Check the Monitor Arm’s Tension?
You should check your monitor arm’s tension every 3 to 6 months for peak performance.
If you use the arm frequently or adjust it daily, consider checking it every 1 to 2 months.
Monitor weight and arm quality also influence check frequency.
Inspect for sagging or drifting monthly, especially in environments with vibrations or temperature fluctuations.
Regular maintenance guarantees smooth movement, stability, and prolongs the arm’s lifespan.
Adjustments may be necessary based on visual cues.
Do Different Monitor Weights Affect Tension Adjustments?
Yes, different monitor weights greatly affect tension adjustments. Each monitor’s weight requires specific tension settings for ideal performance.
Lightweight monitors may cause the arm to drift upwards if tension’s too high, while heavy monitors can sag if tension’s too low.
You should adjust the tension accordingly, testing the arm’s movement after each change. Fine-tuning guarantees the arm balances correctly, allowing you to position the monitor without struggle or instability.
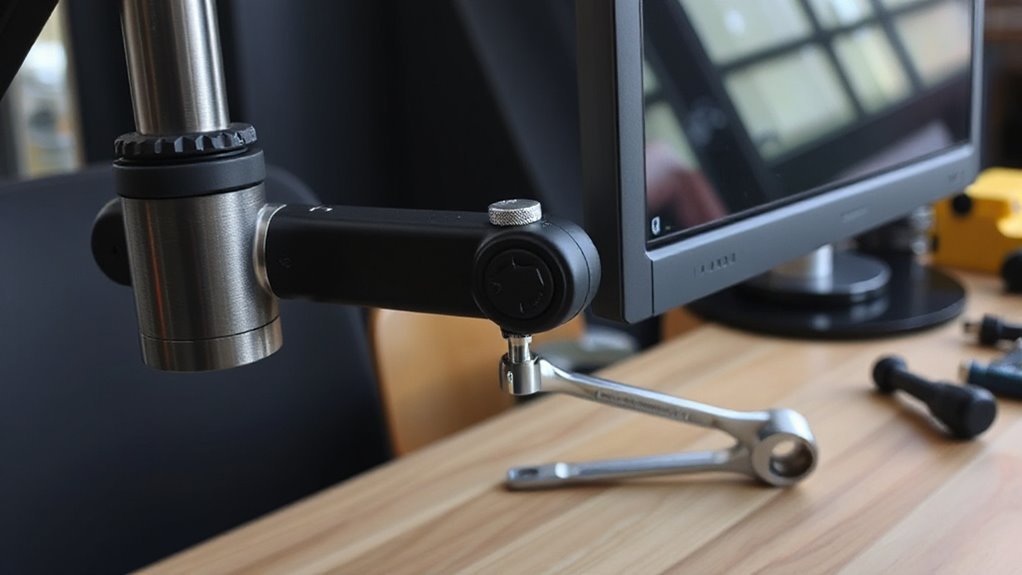
Can I Use a Regular Wrench Instead of the Supplied Hex Key?
Using a Regular Wrench****
You can’t use a regular wrench instead of the supplied hex key for monitor arm tension adjustments.
The hex screw design requires a hex key for a snug fit. A regular wrench may not engage properly, risking damage to the screw. It could slip or round off edges, complicating future adjustments.
Always use the hex key for best torque control and to avoid voiding warranties due to improper tool use.
Conclusion
Adjusting the tension on your monitor arm is essential for peak performance.
Start by identifying the adjustment mechanism and follow the steps outlined. This ensures stability and makes the arm easier to use.
After adjusting, test and fine-tune until you achieve the right balance — much like tuning a musical instrument for harmony.
Keep in mind that variations exist, so you may need to adapt your approach. With practice, you’ll master tension adjustment and enjoy a more ergonomic, efficient workspace.