Monitor Arm Not Holding Position – Fixes and Tips
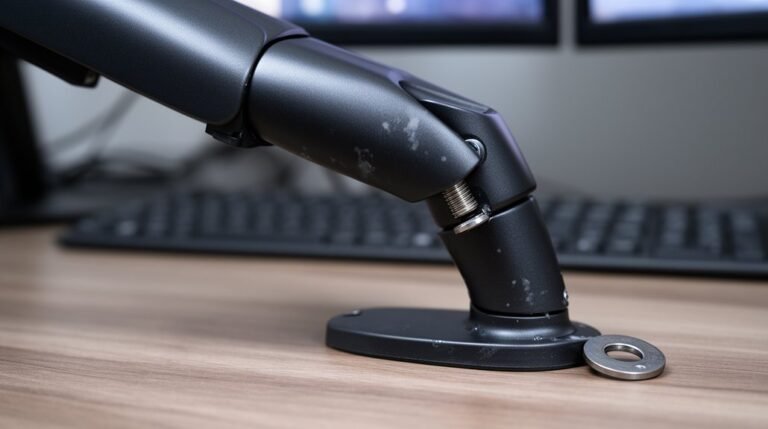
To fix a monitor arm that isn’t holding position, first check the gas spring tension adjustment screw, typically located on the upper arm. Turn it clockwise to increase tension or counterclockwise to decrease it to match your monitor’s weight.
Next, confirm the monitor arm supports your monitor’s weight. Arms commonly handle anywhere from about 4.4 lbs to 44 lbs; make sure your monitor falls within the arm’s specified range.
Also verify cable management and monitor positioning so cables or an off-center display aren’t pulling the arm out of balance. Tighten any loose joints and ensure mounting hardware is secure.
Following these steps can improve stability and hold. If the problem persists, consult the manufacturer for replacement parts or additional troubleshooting.
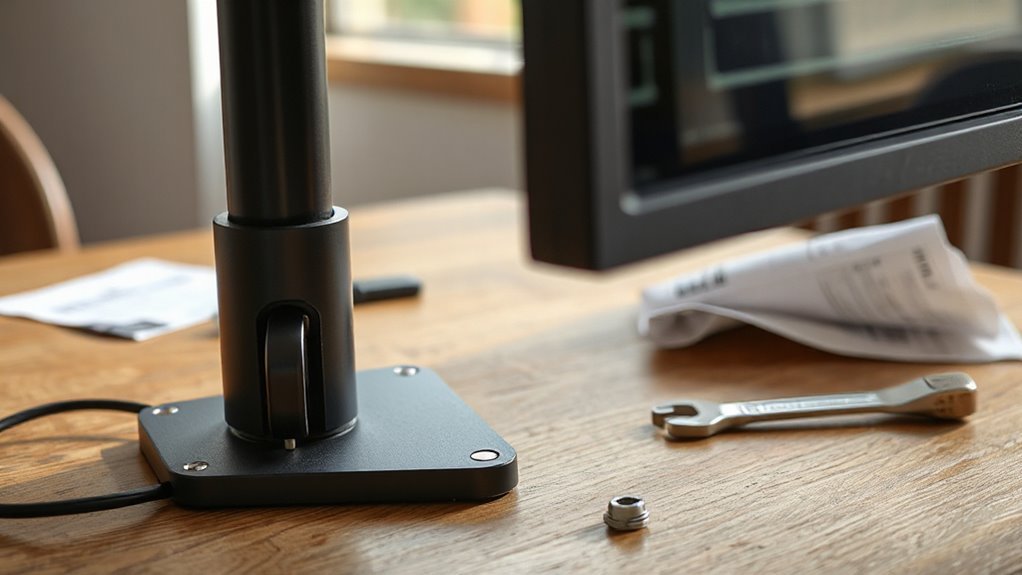
Check Gas Spring Tension Adjustment
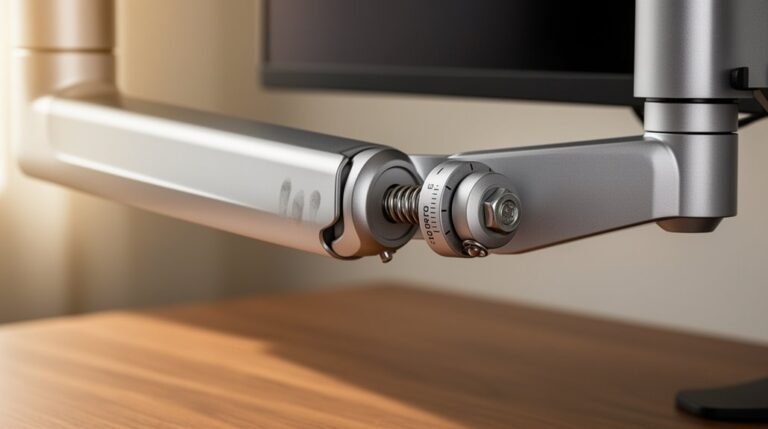
How do you guarantee your monitor arm supports your display effectively? Start by locating the gas spring tension adjustment, typically a screw on the upper arm or center joint.
Look for “+” and “-” symbols to guide your adjustments. Use the supplied Allen Key or hex wrench to access it. Hold the arm horizontally while adjusting to prevent damage.
Turn the screw clockwise to increase tension if the monitor droops. Conversely, turn it counterclockwise to decrease tension if it rises too easily. Remember, JavaScript must be enabled to ensure proper functionality while making these adjustments.
Make small adjustments, testing stability after each turn. Remember, proper tension aligns with your monitor’s weight.
Regular checks are essential, especially if the monitor weight changes or the arm feels unstable over time.
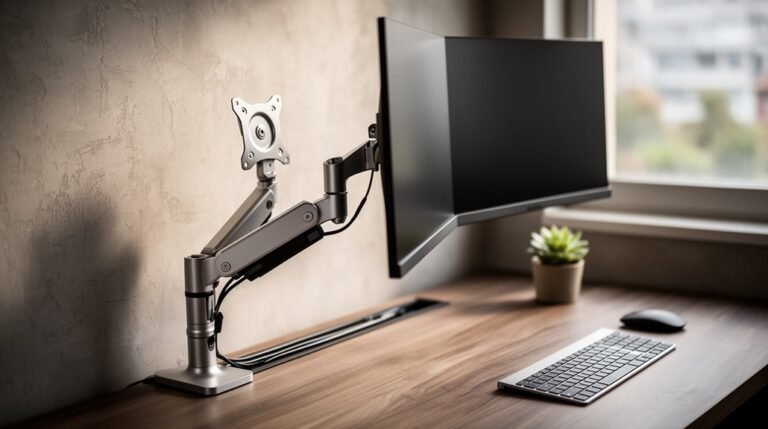
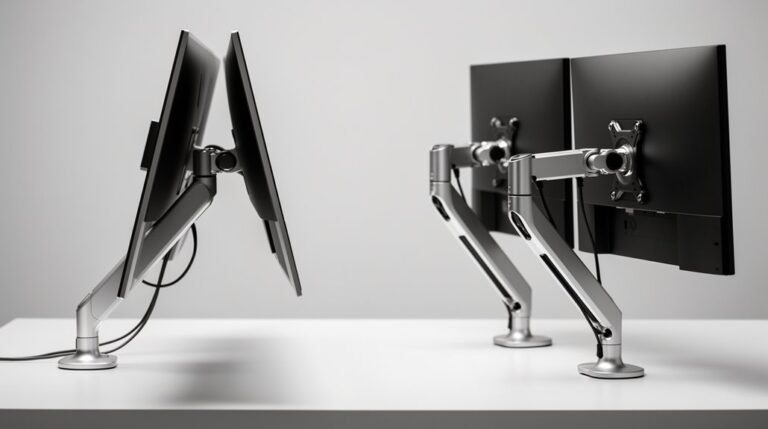
Assess Arm Extension and Stability Issues
When you extend a monitor arm far from its base, the increased leverage can lead to noticeable screen shaking or wobbling. Longer extensions create mechanical stress, reducing arm stability, especially with lower-quality arms. To enhance stability, position the monitor closer to the mounting post. If desk depth requires excessive extension, consider upgrading to a sturdier design.
Examine tilt joints and upper arm joints for sagging, often due to inadequate internal support or tension. Friction-based joints may wear out quicker, while spring-based joints offer better resistance to gravity. Additionally, ensuring that your monitor arm matches the weight capacity of your monitor is crucial for maintaining stability.
Tightening tension screws can improve stability, but avoid overtightening to prevent damage. Evaluating these factors will help you achieve a more stable monitor setup.
Verify Weight Capacity and Monitor Specifications
To guarantee a safe and stable monitor setup, verifying the weight capacity and specifications of your monitor arm is essential.
Here’s what you need to check:
- Weight Capacity: Ascertain your monitor arm can support more than your monitor’s actual weight. Typical limits range from 4.4 lbs (2 kg) to 44 lbs (20 kg) per arm. This is particularly important as most monitor arms support a max weight capacity of 17.6 lbs per arm.
- Monitor Depth: Measure your monitor’s depth, as deeper or curved monitors create more torque. This means you may require a higher-capacity arm.
- VESA Compatibility: Confirm your monitor’s VESA mounting pattern, usually MIS-D 75×75 mm or 100×100 mm. Non-standard patterns may limit your arm options.
Improve Cable Management System
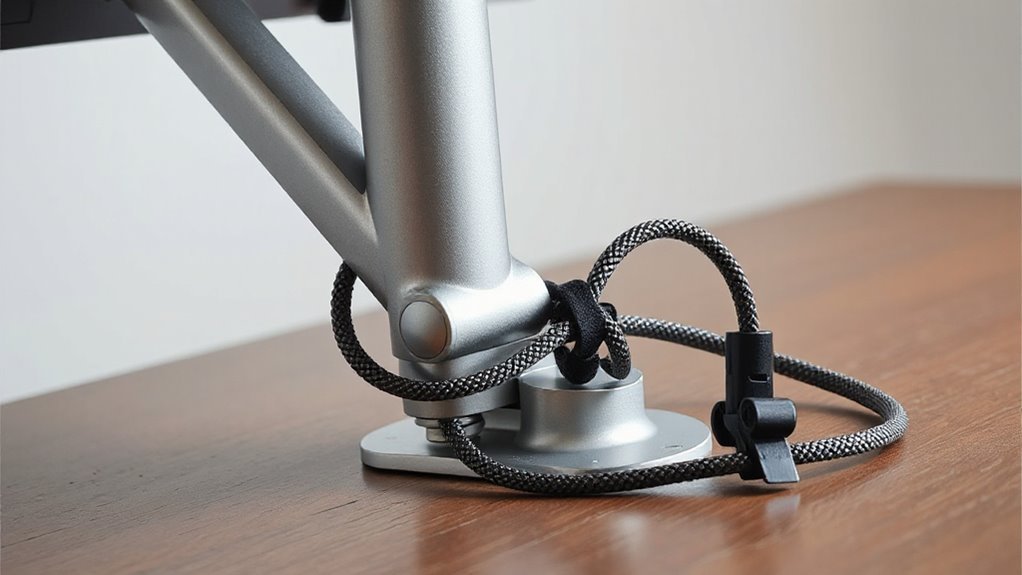
Improving your cable management system is essential for creating a neat and efficient workspace. Start by planning your cable layout and routing, considering device placement for ideal paths. This prevents tangling and allows easy access for adjustments.
Sort and identify cables by grouping them by function—power, video, audio—and use color-coded labels for quick identification.
Utilize cable management accessories like sleeves, clips, and trays to organize cables neatly along surfaces. Enhance cable length to reduce slack and prevent tripping hazards, routing them behind desks when possible.
Implement hidden solutions, like running cables through monitor arms, for a professional appearance. Regularly check your setup to maintain organization and prevent accidental disconnections, ensuring a tidy workspace.
Simplify Adjustment Mechanism Complications
Simplifying adjustment mechanism complications is crucial for enhancing user experience with monitor arms.
You can make adjustments easier by considering these key factors:
- Reduce Adjustment Points: Single-segment arms have fewer points, minimizing setup and calibration steps. Integrated tension controls combine height and tilt adjustments, simplifying the process further.
- Standardize Tools: Most monitor arms use 3mm or 5mm hex keys. Including the correct hex key with the product reduces confusion and the need for additional tools.
- Improve Feedback: Clear visual indicators, like numbered settings, help you identify adjustments. Tactile feedback during adjustments guarantees you achieve the proper tension quickly and accurately.
Optimize Ergonomic Positioning
When you set up your monitor, positioning is key to guaranteeing comfort and reducing strain. Align the top edge of your monitor with your eye level or slightly below. This allows your eyes to look down at a 10-20 degree angle, minimizing neck strain.
Most users need to raise their monitors 3-6 inches above standard desk height for ideal viewing. Maintain a distance of 20-30 inches from the screen to reduce eye strain and support good posture.
Tilt the monitor slightly upward, about 10-20 degrees, to prevent glare. Confirm the monitor is centered in front of you to avoid twisting your neck or shoulders.
Regular adjustments can help accommodate personal comfort and workspace changes.
Regular Maintenance and Troubleshooting Tips
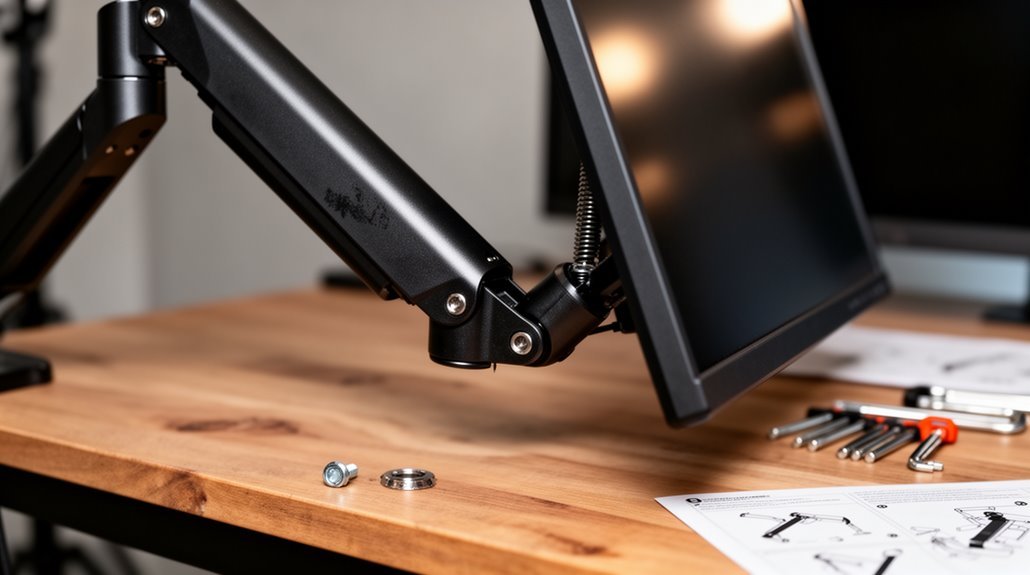
Regular maintenance and troubleshooting are essential for guaranteeing your monitor arm operates smoothly and safely. Follow these tips to maintain peak performance:
- Gas Spring Tension Adjustment: Use an Allen key to adjust tension. Rotate clockwise for lighter monitors and counterclockwise for heavier ones. Multiple rotations may be necessary, guaranteeing the arm is horizontal during adjustments.
- Monitor Weight Verification: Check the monitor’s weight against the arm’s capacity. Confirm VESA compatibility (up to 200x200mm) and inspect the monitor’s back for mounting holes.
- Screw and Connection Maintenance: Regularly inspect connection points. Use an Allen key to adjust tightness, avoiding excessive force to prevent damage.
Guarantee all screws are securely fastened before making any adjustments.
Frequently Asked Questions
Can I Use a Monitor Arm for Curved Monitors?
Yes, you can use a monitor arm for curved monitors, provided they meet VESA mounting standards, like 75mm x 75mm or 100mm x 100mm.
Verify the monitor’s weight without the stand, as curved models often require heavier-duty arms due to their shifted center of gravity.
Make certain the arm supports the total load, including any attachments.
Check compatibility using manufacturer specifications or databases before proceeding with your purchase for maximum stability and performance.
How Do I Know if My Monitor Arm Is Compatible?
To determine if your monitor arm is compatible, check the VESA mounting pattern on your monitor.
Measure the distance between the screw holes, confirming it aligns with your arm’s specifications, typically 75mm x 75mm or 100mm x 100mm.
Verify your monitor’s weight against the arm’s load rating, as exceeding it can cause failure.
Finally, assess your desk’s material and thickness to guarantee it can securely support the monitor arm clamp.
What Materials Are Best for a Stable Monitor Arm?
For a stable monitor arm, choose steel or aluminum.
Steel offers exceptional rigidity, supporting over 40 lbs without wobbling. Aluminum, while lighter, still maintains good stability for monitors up to 30 lbs.
Avoid plastic, as it flexes easily and can’t handle heavier weights. Composite materials provide a balance but often lack long-term stability.
Prioritize thicker gauge materials for enhanced durability and reduced movement over time, ensuring your setup remains secure.
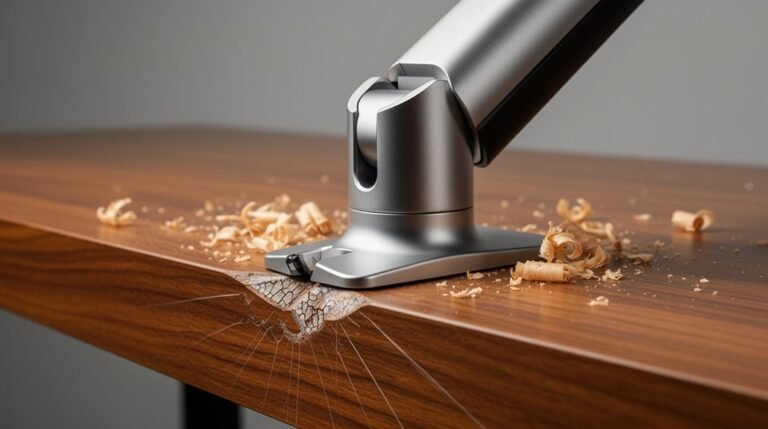
Can Monitor Arms Damage My Desk Surface?
Yes, monitor arms can damage your desk surface. Clamping mechanisms apply pressure that may dent or scratch soft woods and thin surfaces.
If you use a hollow-core desk, the clamp can cause crushing. Bevelled edges offer limited support, increasing the risk of misalignment and damage.
To protect your desk, consider reinforced plates, anti-slip padding, or freestanding mounts. Avoid excessive arm extension to minimize leverage that exacerbates surface wear.
Are There Specific Brands Known for Better Durability?
When it comes to durability, brands like Ergotron, Herman Miller, and Humanscale stand out.
Ergotron’s patented Constant Force™ technology guarantees smooth adjustments and long-lasting performance.
Herman Miller’s Jarvis arm combines high-quality materials with ergonomic design, while Humanscale’s M8.1 offers refined construction for professional use.
These brands consistently undergo rigorous testing, making them reliable choices for anyone seeking stability and longevity in monitor arms.
Investing in these options assures a sturdy workspace.
Conclusion
In conclusion, addressing a monitor arm that won’t hold its position involves a few practical adjustments and checks.
Start by fine-tuning the gas spring tension so it matches your monitor’s weight. Small, incremental adjustments often make the biggest difference.
Next, check for any stability issues — loose screws, worn joints, or an unstable desk can all affect performance. Optimize your overall setup for ergonomics while you’re at it.
Finally, perform regular maintenance (cleaning, tightening, and occasional lubrication) to keep the arm functioning smoothly. Following these steps helps your monitor float effortlessly at the right angle, improving comfort and productivity.