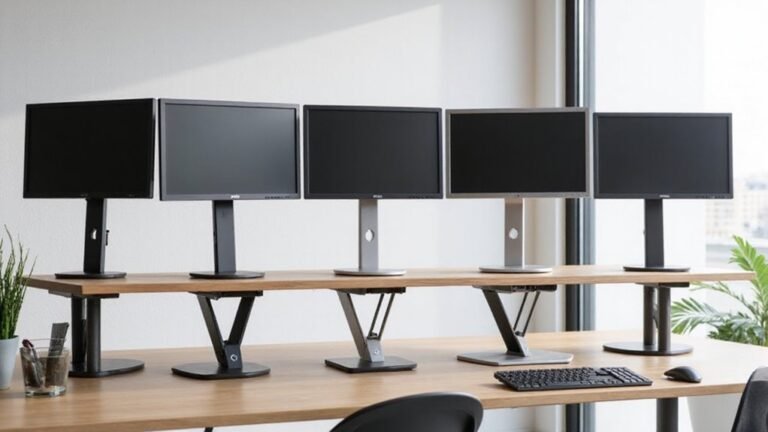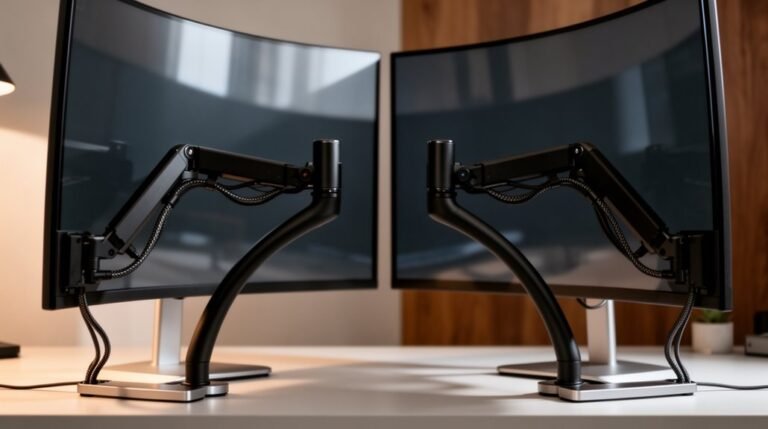
How to Install a Monitor Arm
To install a monitor arm, first gather tools like a screwdriver and Allen wrenches. Verify your monitor is VESA compatible, typically 75x75mm or 100x100mm.
Choose a base mount—desk clamp for easy installation, or a grommet mount for added stability. Attach the arm securely to the desk, confirming it is tightened and stable.
Mount your monitor using the provided screws and spacers if needed, aligning the VESA holes carefully. Adjust the monitor height and tilt for the best viewing angle and ergonomic posture.
Finish with cable management to route cords neatly along the arm, and perform safety checks to ensure all fasteners remain tight before regular use.
Preparing for Installation
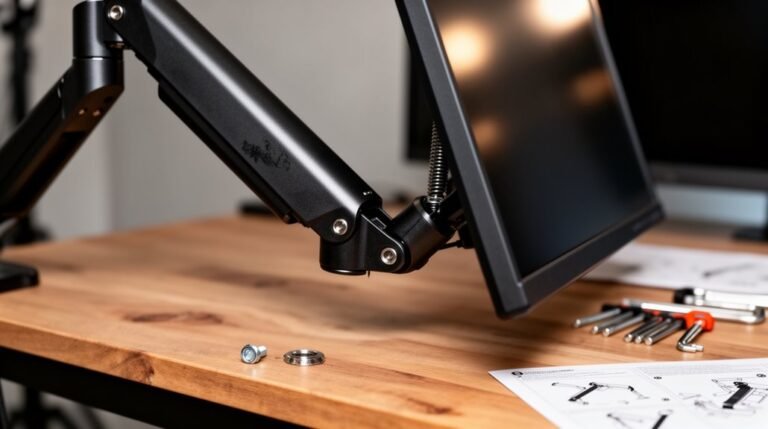
Before you begin installing your monitor arm, gather all necessary tools and equipment to guarantee a smooth process.
You’ll need a Phillips head screwdriver for standard fastening tasks, along with various Allen wrenches typically included in monitor arm kits. A drill with appropriate bits will assist in creating grommet and pilot holes.
Use a torque wrench for final tightening to meet manufacturer specifications. Additionally, a measuring tape of at least 10 feet will help you take accurate placement measurements.
Confirm you verify the monitor’s VESA compatibility, weight specifications, and attachment points before starting. This preparation will help you avoid complications during installation and ensure the arm securely supports your monitor. Remember that ergonomic height is essential for reducing neck and eye strain from prolonged monitor use.
Selecting the Right Base Mount
Choosing the right base mount for your monitor arm is essential, as it directly impacts stability and functionality.
Desk clamp mounts are the most popular option for non-permanent installations, featuring a C-clamp design. They’re easy to install, requiring no drilling, and include rubber pads to protect your desk surface.
Grommet mounts offer a more permanent solution, utilizing bolts that feed through existing holes or require new drilling. They provide a cleaner look and better stability.
Wall and ceiling mounts secure to surfaces for permanent setups, maximizing workspace.
Freestanding mounts are the simplest, requiring no modifications but occupying more desk space. It is important to confirm VESA compatibility with standard hole patterns, allowing for flexibility in monitor attachment.
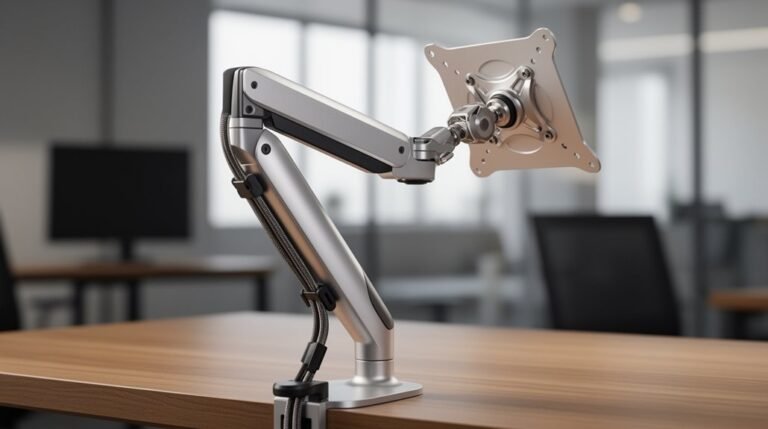
Attaching the Monitor Arm to the Base
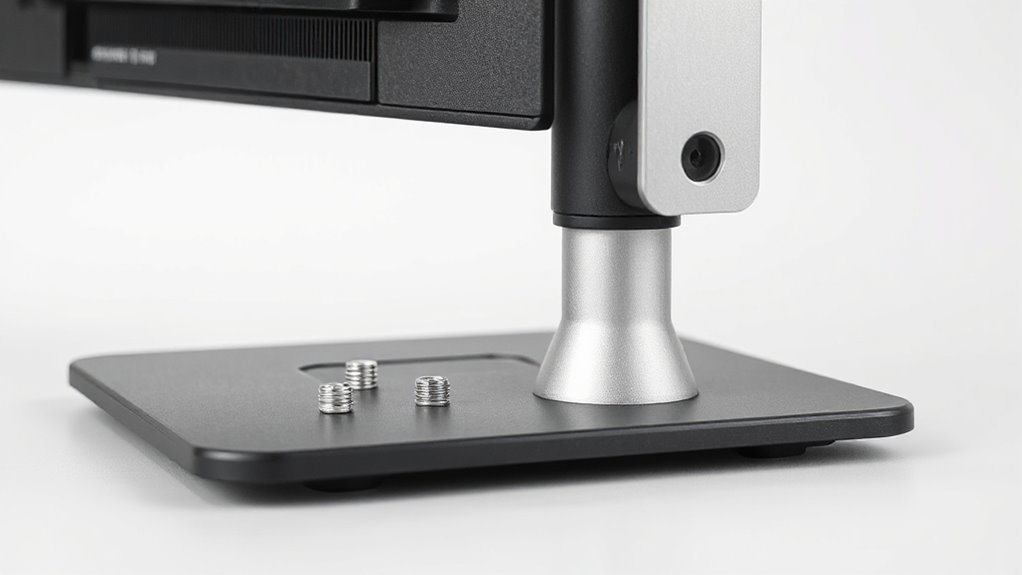
Attaching the monitor arm to the base is a crucial step in guaranteeing stability and functionality. Follow these guidelines for a secure installation:
- Choose the right base: Use a solid desk edge or grommet hole that meets the monitor arm specifications.
- Use the correct tools: Have a Phillips screwdriver, torque wrench, and Allen keys ready for assembly.
- Check for stability: Confirm the clamp or grommet mount doesn’t shift under moderate pressure before proceeding.
- Secure fasteners properly: Tighten screws slowly to distribute pressure evenly, avoiding over-tightening.
- Test alignment: Verify the arm is level and aligned correctly to prevent tilting or stress. Additionally, ensure that the desk thickness is within the recommended range to support the mounting securely.
Mounting the Monitor to the Arm
With the monitor arm securely attached to the base, you can now proceed to mount your monitor.
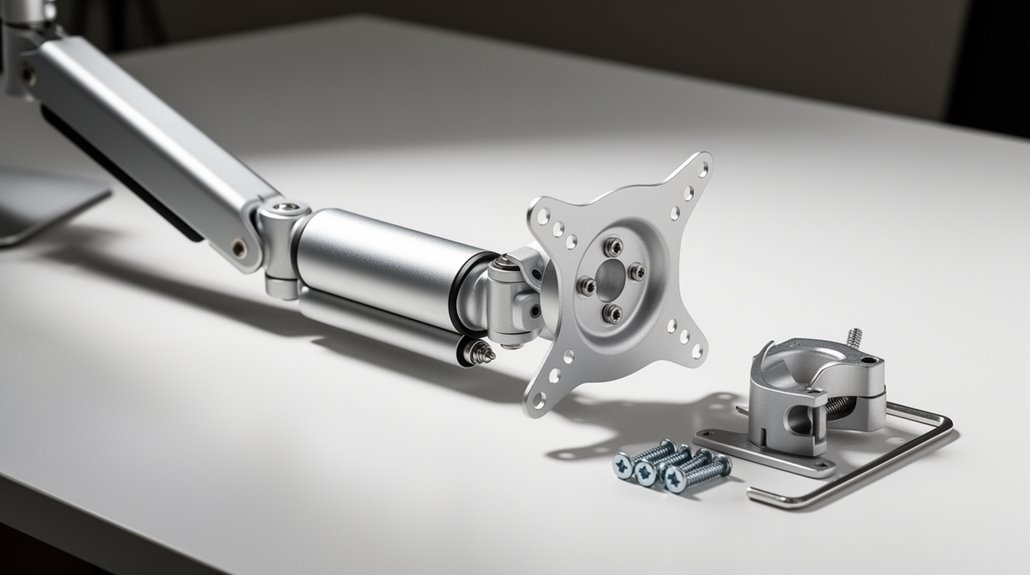
First, verify your monitor is VESA compliant, typically using 75x75mm or 100x100mm hole patterns. Measure the distance between the mounting holes on the back of your monitor to match the VESA plate. Use the provided M4 screws from the hardware kit for attachment.
If your monitor has a curved or recessed back, place the included spacers between the VESA plate and monitor. Attach the VESA plate face-down on a soft surface to avoid scratches.
Depending on your monitor arm, slide the plate into grooves or use a quick-release lever, confirming it locks securely before releasing support.
Making Adjustments for Optimal Performance
To guarantee your monitor setup promotes comfort and efficiency, it’s essential to make precise adjustments. Start by positioning the monitor’s top third at or slightly below eye level. Use the “two-finger rule” to align your eye level with the monitor’s top edge.
Adjust the tilt to minimize glare and maintain a comfortable neck posture. Center the monitor directly in front of you, about an arm’s length away, to prevent neck strain. Regularly reassess distance based on your seating posture and monitor size.
- Position the monitor to maintain a neutral neck posture.
- Align the center of the screen with your line of sight.
- Adjust tilt to reduce glare from overhead lights.
- Confirm the monitor is stable at the desired height.
- Regularly check for ideal distance to avoid eye strain.
Cable Management Solutions
Effective cable management enhances both the functionality and aesthetics of your workspace, ensuring a clean and organized environment.
Monitor arms often include integrated clips or channels that securely hold cables, preventing tangling. These built-in features, such as cable clips, channels, and sleeves, greatly reduce desk clutter and improve ergonomics. Some models, like Atdec’s Ora, can conceal up to 89% of monitor power cables.
External solutions, such as under-desk cable trays, complement monitor arms by organizing cords and power strips out of sight. Using Velcro ties or cable wraps allows you to group cables neatly, minimizing chaos.
Proper routing through the monitor arm’s channels keeps cables accessible yet unobtrusive, enhancing your workspace’s overall efficiency.
Tools and Hardware Needed
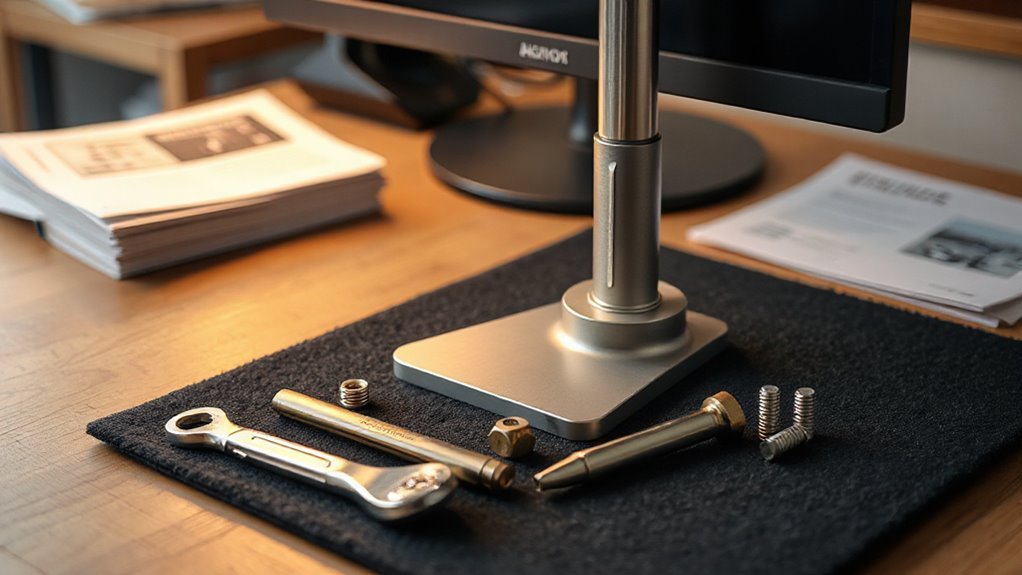
Installing a monitor arm requires several essential tools and hardware components for a successful setup. Gathering the right tools guarantees efficient installation and reduces the risk of errors. Here’s what you’ll need:
- Phillips and flathead screwdrivers in multiple sizes
- Allen wrenches (often included with the monitor arm)
- Measuring tape (at least 10 feet long)
- Cordless drill with variable speed settings
- Level tool for verifying proper alignment
Using these tools, you can accurately measure, secure, and adjust the monitor arm.
Be sure to have all hardware components, such as screws and bolts, ready for installation. This preparation streamlines the process and helps achieve ideal monitor positioning.
Safety Checks and Final Adjustments
Before using your newly installed monitor arm, it’s essential to conduct thorough safety checks and make final adjustments to guarantee peak functionality.
First, inspect all screws and clamps; loose connections can compromise stability. Verify that the monitor arm base is firmly attached to a stable surface and confirm the desk can support the combined weight of the monitor and arm. Check for visible damage in the arm or mounting hardware, and utilize protective materials to prevent scratches on your desk.
Next, test stability by gently applying pressure in multiple directions. Confirm that all clamp mechanisms are secured.
Adjust the monitor to eye level and utilize tilt features to reduce glare. Finally, manage cables neatly to prevent snagging and periodically tighten screws as needed.
Frequently Asked Questions
Can I Use a Monitor Arm With Curved Monitors?
Yes, you can use a monitor arm with curved monitors, but verify compatibility.
Look for an arm that supports VESA 100 x 100 mm mounts and can handle the monitor’s weight, typically no more than 18.74 lbs.
Check the arm’s weight limit and reach specifications.
Consider additional load due to the monitor’s shifted center of gravity.
Finally, verify if the arm allows for tilt, swivel, and height adjustments for maximum ergonomics.
What Is the Weight Limit for Different Monitor Arms?
Standard monitor arms typically support weights between 8.8 and 22 lbs (4–10 kg).
Universal models can handle 28.6 to 33 lbs (13–15 kg).
Single-monitor setups range from 4.4 to 19.8 lbs.
For multi-monitor configurations, two monitors need 7–22 lbs each, while three monitors reduce the limit to 7–14.6 lbs.
Always consider the monitor’s depth and weight, as they affect the arm’s performance and stability.
How Do I Choose the Right Monitor Arm Height?
To choose the right monitor arm height, position the monitor’s top edge at or slightly below your eye level. This promotes a neutral neck position.
Maintain a viewing distance of 20 to 30 inches to minimize eye strain. Tilt the screen upward 10 to 20 degrees to reduce glare.
Make certain the arm allows for easy adjustments, enabling you to modify height and angle throughout the day for ideal ergonomics.
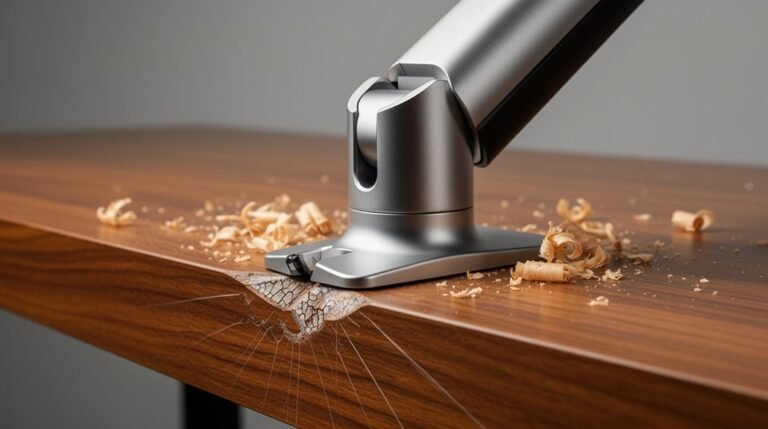
Are Monitor Arms Compatible With All Desk Types?
Monitor arms aren’t compatible with all desk types. They typically require desks with a thickness between 0.4” and 3”. Solid wood, MDF, and metal desks usually work well.
However, glass desks, hollow-core desks, and those with irregular edges can pose challenges. Clamp mounts need flat surfaces, while grommet and bolt mounts require pre-drilled holes.
Confirm your desk meets these specifications for maximum stability and functionality when using a monitor arm.
Can I Adjust the Monitor Arm After Installation?
Yes, you can adjust the monitor arm after installation. Most models feature tension adjustment screws, usually located at the base or joints.
You’ll need to turn these screws incrementally, testing the arm’s movement with the monitor attached. Adjust the tilt by loosening tilt-specific screws, repositioning the monitor, and re-tightening.
Regular adjustments guarantee stability and prevent sagging, especially if you change monitors or desk setups. Always check screws periodically for secure attachment.
Conclusion
In summary, installing a monitor arm enhances your workspace, akin to organizing a library for maximum efficiency.
You’ve selected the right base mount and secured the monitor arm effectively.
Adjustments guarantee your screen is at the perfect height and angle, improving comfort and productivity.
Implementing cable management keeps your setup tidy.
By following these detailed steps, you’ve transformed your workstation, paving the way for a more organized and productive environment.