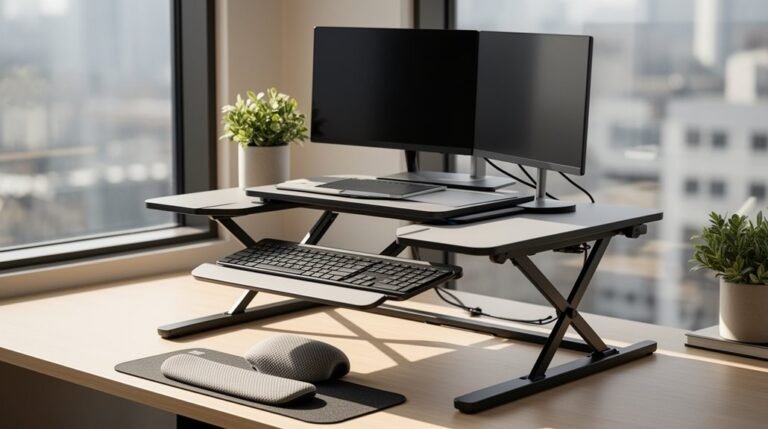
How to Add a Monitor to Your Desk Converter
How to Add a Monitor to Your Desk Converter: start by ensuring your workspace is safe and free from clutter. Clear the desk surface and check that the converter is rated to support your monitor’s weight.
Use a sturdy desk mount or clamp that is compatible with VESA standards to secure your monitor. Attach the VESA plate to the back of the monitor following the manufacturer’s instructions.
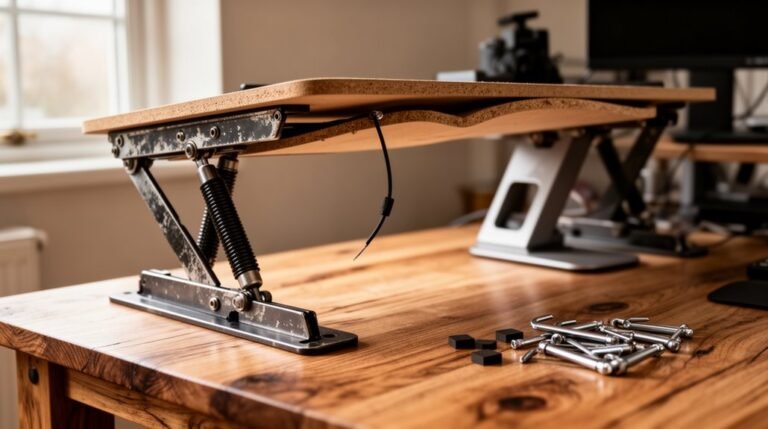
Install the mounting base on the desk converter, tightening it securely but without overdoing it to avoid damage. Double-check that all fasteners are snug.
Adjust the monitor height so the top of the screen is at eye level, and tilt it slightly to reduce glare. This helps maintain good posture and reduces neck strain.
Organize cables using trays, sleeves, or clips for a neat setup. Route power and video cables so they don’t catch when you raise or lower the converter.
Preparation and Safety Measures
Before you add a monitor to your desk converter, it’s important to assess your workspace and guarantee safety.
Verify the desktop material; solid wood is preferred for support, while glass or brittle surfaces like marble should be avoided.
Measure your desk’s thickness; an ideal thickness of 1–1.5 inches allows safe clamp mounting. Proper monitor setup can significantly enhance your comfort and productivity while working.
Confirm the desk can support the combined weight of the converter and monitor to prevent instability. using dual monitors on standing desks can significantly enhance productivity by providing more screen real estate for multitasking. Make sure to evaluate the workspace layout to ensure that the monitors are positioned at eye level to promote good posture and reduce strain. Additionally, consider investing in monitor arms for better adjustability and ergonomics.
Check the edge design of the desk surface for secure clamping without damage.
Avoid clamping onto unsuitable surfaces like glass unless you use a grommet mount.
Finally, maintain an ergonomic setup by positioning the monitor at or slightly below eye level to reduce strain.
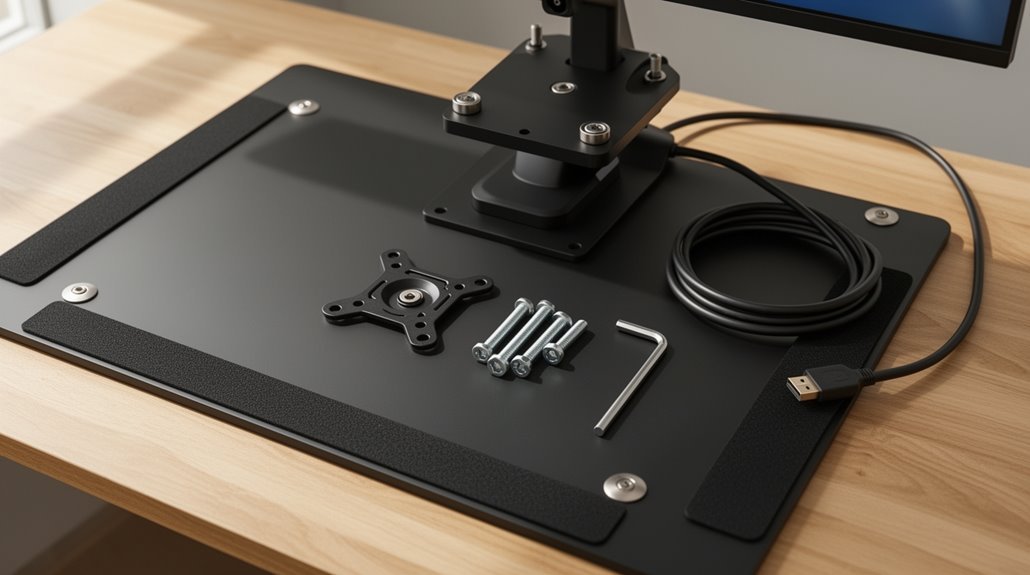
Mounting Hardware and Components Overview
Understanding the various mounting hardware options is essential for securely adding a monitor to your desk converter. You can choose from several types: desk clamps attach easily to desk edges, while through-desk mounts require drilling for a permanent fit. Wall mounts work where desk space is limited, and pole mounts offer flexibility for height adjustment. Pole mounting kits allow for increased versatility in monitor positioning, making it easier to find the perfect height for your workspace. Track and slatwall mounts allow for modular setups.
Common components include VESA plates, which standardize monitor attachment, and adjustment arms that enable tilt and swivel. A solid base or clamp secures the mount, while poles provide vertical support. Confirm you check load capacity and compatibility with monitor sizes, typically ranging from 13 to 32 inches. This knowledge aids in making an informed choice.
Step-by-Step Monitor Mount Installation
Installing a monitor mount on your desk converter involves several clear steps to assure stability and proper functionality.
Preparing the Workspace
Start by choosing a clean, stable surface. Verify your desk edges are suitable for either clamp or grommet mounting. If using a grommet mount, drill a hole slightly larger than the mounting screw diameter. Clear the area of cables and items.
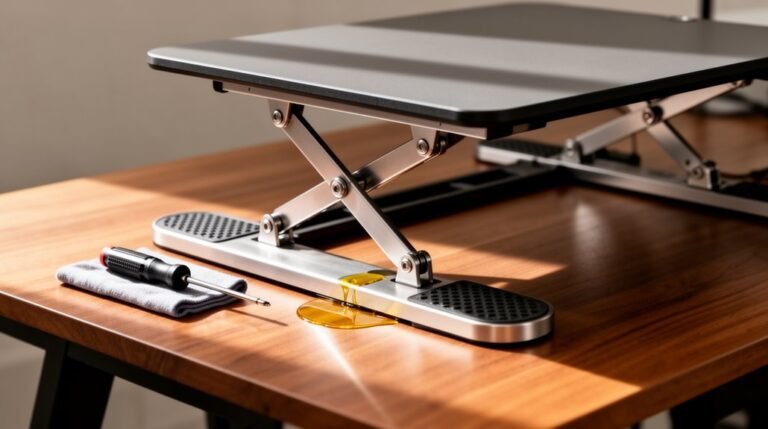
Installing the Base
Attach the mounting bracket securely using a clamp or grommet system. For clamps, position under the desk edge and tighten without over-tightening. For grommets, insert into the drilled hole and secure underneath. Ensure the mount supports VESA 75×75 or 100×100 configurations for optimal compatibility.
Attaching the Arm
Align the arm with the base, then secure with screws. Confirm that the arm’s tensioning mechanism supports your monitor weight effectively.
Adjusting and Fine-Tuning Your Monitor
Achieving ideal monitor positioning is essential for comfort and productivity. Position the top of your screen at or slightly below eye level, guaranteeing your eyes sit 5-10 cm below the monitor’s top edge. This height prevents neck strain and promotes good posture.
Maintain a viewing distance of 50-65 cm, about arm’s length, which allows your fingertips to nearly touch the screen. Tilt the monitor back 10-20 degrees to reduce glare while encouraging straight-ahead viewing.
Assess your line of sight to guarantee it stays neutral, with your eyes looking slightly downward at the monitor’s center. Utilize adjustable monitor arms or stands for customized height and distance settings, adapting to your ergonomic needs.
Cable Management Tips for a Neat Workspace
Creating a tidy workspace not only enhances aesthetics but also improves efficiency. Utilize under-desk cable trays and raceways to route and store cables, keeping them off your work surface. These trays attach quickly and rise with your desk, accommodating height adjustments.
Consider cable management kits that include surge-protecting power strips and various clips for organization. Cable chains and spines manage and conceal bundles, supporting up to 2-inch groupings. Explore vertical cable managers with magnets for discreet attachment to desk legs, facilitating easy cable entry and exit.
Finally, use cable sleeves to bundle cords, preventing tangling and clutter. Regularly check for loose wires to maintain an organized setup, optimizing both functionality and appearance.
Frequently Asked Questions
Can I Use a Monitor Larger Than 28 Inches?
Yes, you can use a monitor larger than 28 inches, but check your desk converter’s specifications first.
Many converters support monitors up to 32 inches, like the Mount-It! model. However, larger monitors may extend beyond the platform, impacting stability.
Guarantee your converter’s weight capacity aligns with your monitor’s weight, as most support between 16.5 lbs and 22 lbs per monitor.
Always verify VESA compatibility for secure mounting.
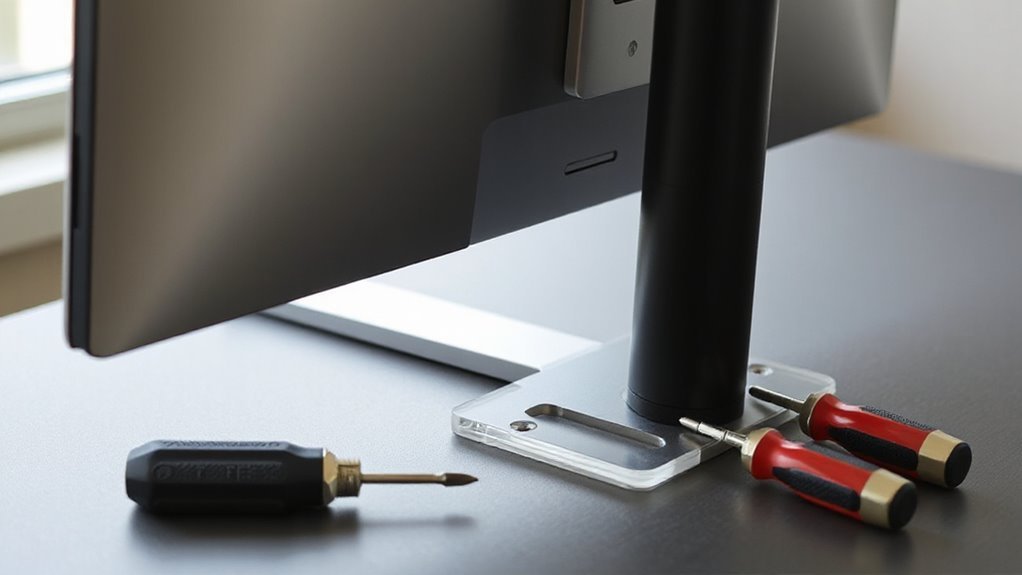
What Tools Are Needed for Installation?
To install your monitor, you’ll need several essential tools.
Start with Phillips and flathead screwdrivers for tightening screws on mounts. Use an adjustable wrench or small socket set to secure bolts.
A measuring tape guarantees proper alignment, while a level tool verifies horizontal placement.
Don’t forget compatible mounting brackets and cables for connectivity.
Finally, cable ties help manage the clutter, keeping your workspace organized and efficient.
How Can I Prevent My Monitor From Wobbling?
To prevent your monitor from wobbling, centralize its position near the rear of the converter.
Distribute weight evenly by placing heavy items symmetrically. Avoid overhang by ensuring all equipment rests fully on the surface.
Adjust leveling feet to contact the desk firmly, eliminating rocking. Regularly tighten screws and bolts to maintain stability.
Consider using a heavy-duty monitor stand or clamp mount for enhanced support and reduced bounce during adjustments.
Is It Possible to Mount Two Monitors?
Yes, you can mount two monitors on a desk converter.
Confirm the converter has a minimum width of 36 inches and a weight capacity of around 33 lbs per monitor.
Check for VESA compatibility (75×75 and 100×100 mm) for easy attachment.
Adjustable arms allow for ergonomic positioning, while cable management helps maintain a tidy workspace.
Many models support monitors ranging from 13” to 32” and offer smooth height adjustments.
What if My Desk Converter Isn’t Stable?
If your desk converter isn’t stable, check its placement first.
Make sure it’s on a flat, firm surface. Tighten all screws and bolts to eliminate any looseness.
Avoid extending the converter too far from its base, as this amplifies wobbling.
Consider using a model with leveling feet or a post-base system for increased stability.
Overloading the converter can also lead to instability—stay within the manufacturer’s weight limits for peak performance.
Conclusion
To conclude, securing a sleek, stable monitor to your desk converter enhances your workspace efficiency.
Following the steps outlined, you’ve mounted your monitor securely and adjusted its position for ideal viewing.
Proper cable management not only promotes a tidy environment, but also prevents clutter.
By prioritizing preparation and precision, you’ve created a productive setup. Enjoy your enhanced workspace, and remember, a well-placed monitor makes for a magnificent work experience.