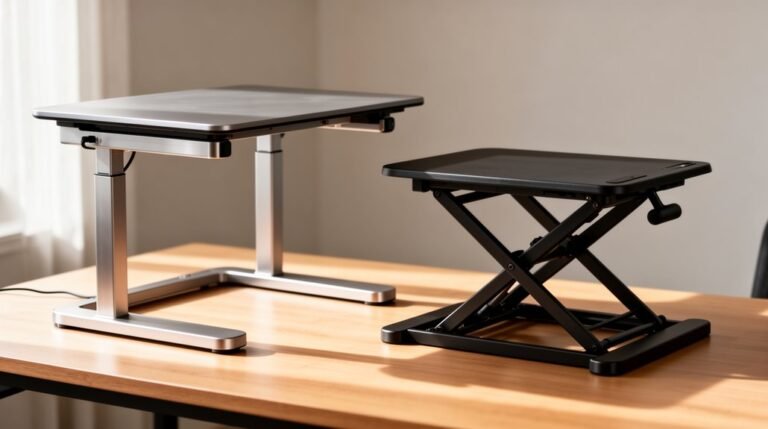
How to Build a DIY Standing Desk Converter
To build a DIY standing desk converter, start with 3/4-inch plywood to create a stable work surface. Choosing a strong frame made from steel or aluminum extrusions will add rigidity and long-term durability. Consider incorporating some creative DIY standing desk ideas for home office to optimize your workspace further. Adding accessories such as cable management solutions or adjustable monitors can enhance your ergonomic setup. With the right design, you can create a personalized workstation that suits your style and needs.
Measure key dimensions carefully. Typical widths range from 25″ to 48″, and heights can vary between about 1.75″ and 21.67″, so plan according to your workspace and ergonomic needs.
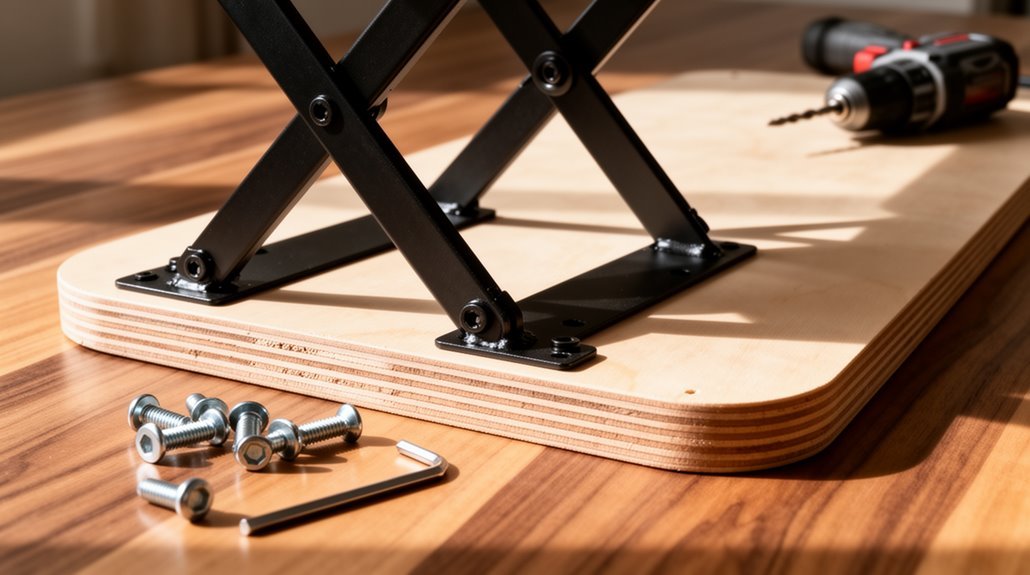
Use a drill to make the necessary holes and a saw to cut precise shapes. Assemble components with industrial-grade brackets to ensure a solid, lasting connection between parts.
Regularly test the assembled converter for stability and smooth movement. Finally, add cable management features to keep cords organized, and explore additional customizations to enhance functionality.
Materials Needed for Your Standing Desk Converter
When building a standing desk converter, you’ll need a variety of materials to guarantee both functionality and durability. Consider exploring various diy standing desk converter options that suit your workspace needs and budget. You can choose from a range of designs, from simple wooden structures to more sophisticated adjustable models. Additionally, evaluating online reviews can help you select the best products available.
Start with plywood or MDF boards for a stable surface, as they’re affordable and easy to cut. For the frame, consider using steel or aluminum extrusions; they provide strength without excess weight. If aesthetics matter, hardwoods like oak or maple can enhance the look while assuring sturdiness. Incorporate industrial-grade brackets for secure joints and adjustability. For height adjustment, gas springs or counterbalance arms offer smooth functionality. Finally, finish edges with laminate or veneer for durability. Additionally, be mindful of potential traffic issues that could arise when the converter is in use, as this could affect your workspace efficiency.
These choices will assure your desk converter supports your equipment effectively.
Essential Tools for Construction
To build a sturdy standing desk converter, you’ll need a collection of essential tools that streamline the construction process.
Start with assembly tools like screwdrivers, a wrench set, and a hammer for securing components. A drill with various bits speeds up hole creation. Additionally, incorporating ergonomic sit-stand workstation features into your design can enhance the overall functionality of your converter.
Measurement tools include a tape measure for accurate dimensions, a level for guaranteeing alignment, and a carpenter’s square for 90-degree angles.
For cutting, use a saw—either hand or power—and a jigsaw for detailed cuts. Clamps keep materials steady during this phase.
Finally, protect yourself with safety glasses, gloves, and a dust mask. These tools will guarantee your project runs smoothly and safely, providing a solid foundation for your standing desk converter.
Key Dimensions to Consider
Understanding the key dimensions of a standing desk converter is essential for guaranteeing it meets your workspace needs effectively.
Width Requirements: Standard widths range from 25″ to 48″. Choose 25″ for compact setups, 36″ for laptops and secondary monitors, and 47-48″ for dual monitors.
Depth Considerations: Depths typically span from 17.75″ to 29.75″. A depth of 10″ to 13.8″ for keyboard trays keeps devices accessible. Aim for a total platform depth of 19.5″ to 24.75″.
Height Adjustment: Minimum heights range from 1.75″ to 5.9″, while maximum heights reach 15.75″ to 21.67″. A good option is the pneumatic height adjustment feature, which allows for a seamless transition from sitting to standing.
Weight Capacity: Entry-level converters support 20 lbs, while premium models accommodate up to 55 lbs.
Choosing the right dimensions guarantees best functionality and stability.
Step-by-Step Construction Process
Constructing your DIY standing desk converter involves several clear steps, each requiring attention to detail.
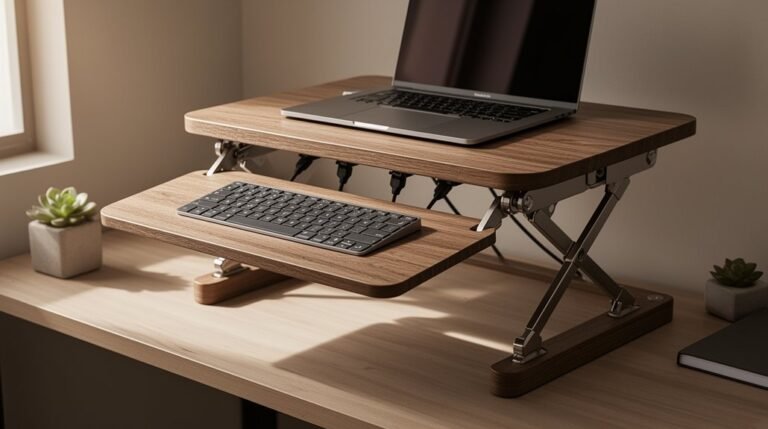
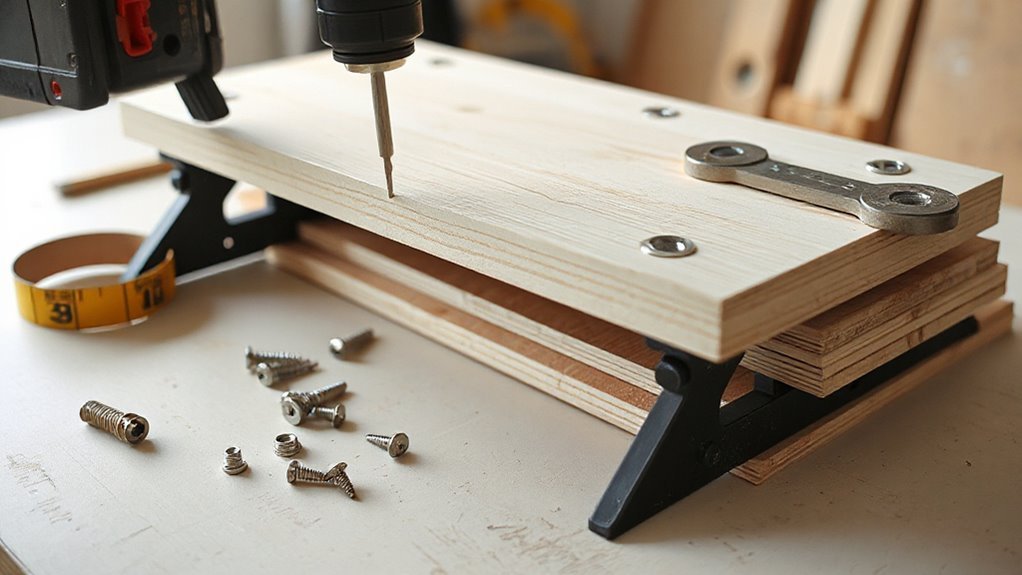
Start by selecting 3/4-inch premium plywood for all major components. Sand all wood surfaces smooth before cutting. Cut the base and back board into trapezoid shapes, using a radius jig for rounded corners. For clean edges, employ a straight bit with bearing.
Mark and trace slots on the back board, drilling ends with an undersized Forstner bit. Remove waste with a jigsaw and refine edges with a router. Cut shelves from plywood, adding tongues for slot fitting.
Shape shelves using a router with a pattern bit. Test-fit everything to verify proper angle and fit before proceeding to assembly.
Assembly and Adjustment Techniques
When assembling your DIY standing desk converter, make certain the base aligns with the front edge of your desk for ideal stability.
Use felt pads on the base corners to mitigate surface damage and limit movement. Secure the lifting column to the base using four M6x14 flat head screws, ensuring the vertical column faces forward.
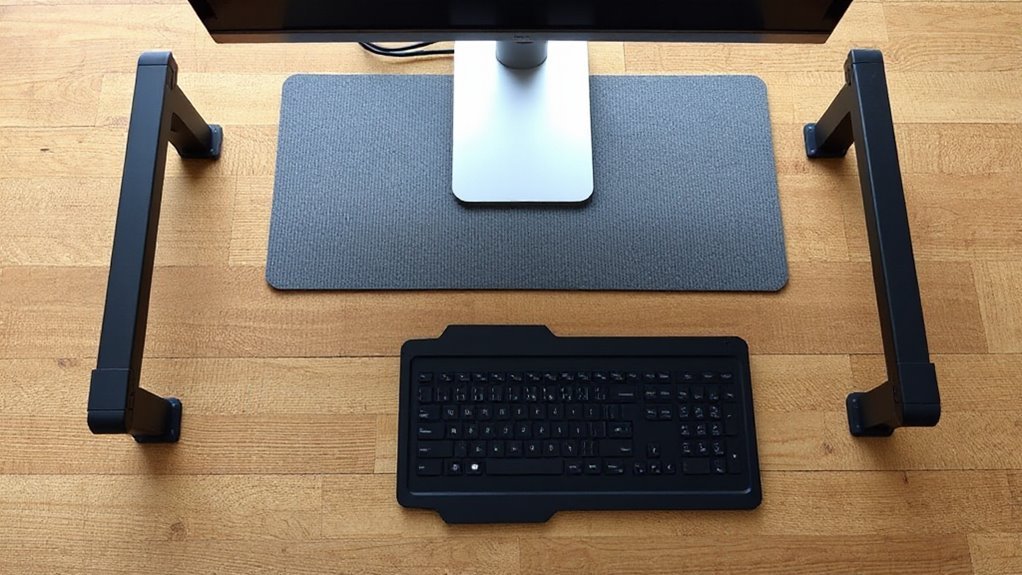
Attach the worksurface bracket to the front of the lifting column with four M6x10 pan head screws.
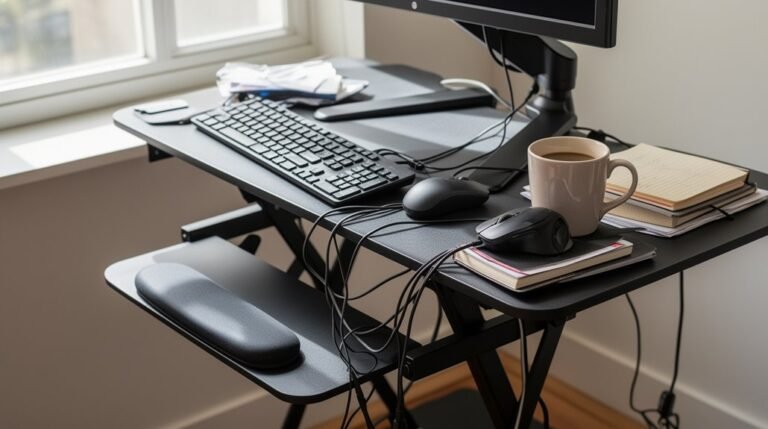
Prioritize cable management by grouping power and connecting cables, and use adhesive clips above and below the control box to avoid interference.
Adjust the gas spring tension with an 8 mm Allen wrench, ensuring the converter operates smoothly at various heights without strain or disconnection.
Cost and Customization Options
Customization options abound; you can choose height adjustment mechanisms like pneumatic lifts or manual cranks.
Surface size and shape can adapt to fit your workspace needs. Materials vary from basic MDF to premium wood veneers, enhancing durability.
Modular components, such as clamp mounts, allow you to optimize space.
These choices help you create a functional and personalized workspace efficiently.
Tips for Enhancing Stability and Functionality
Enhancing stability and functionality in your DIY standing desk converter is crucial for peak performance. Regularly inspect bolts, screws, and connections every 3–4 months. Tighten any loose fasteners to eliminate wobbling.
After assembly, test stability with the full load and maintain a stable, level surface to prevent tipping. Distribute weight evenly across the converter, especially during height adjustments. Avoid placing heavy equipment asymmetrically.
Use cable management solutions like Velcro wraps and clips to keep cords organized and away from pinch points. Lubricate moving components based on manufacturer guidelines to guarantee smooth adjustments.
Adjust the converter a few inches from the desk edge, and calibrate the counterbalance system for peak performance.
Frequently Asked Questions
What Is the Weight Capacity of the Standing Desk Converter?
The weight capacity of a standing desk converter varies considerably.
Manual models usually support between 22 to 35 lbs, while electric models can handle up to 110 lbs, especially for dual monitor setups.
For instance, the VariDesk Pro Plus 36 supports 35 lbs, whereas the UPLIFT Desk E7 accommodates 110 lbs.
Additionally, keyboard trays generally hold 4.4 to 11 lbs, ensuring stability during use with added equipment.
Always check specific model specifications for accurate capacities.
Can I Use Reclaimed Wood for My Desk Converter?
Yes, you can use reclaimed wood for your desk converter. Its durability and unique aesthetic make it an excellent choice.
Inspect the wood for nails or rot, ensuring safety. Typically, reclaimed boards range from 1” to 2” thick, offering adequate weight capacity.
Sand and seal the surface for a smooth finish. Reinforce joints with metal brackets to enhance stability, and orient the grain parallel to the load for peak strength.
How Long Does It Take to Build the Converter?
Building a DIY standing desk converter typically takes between 1 to 3 hours.
Simple designs can be assembled in under 1 hour, especially with pre-cut parts and basic tools. More complex setups, like motorized versions, may require 2 to 3 hours due to wiring and testing.
Your experience level and tool availability also considerably affect build time. Preparing your workspace and gathering materials beforehand can help minimize delays and streamline the process.
Are There Any Safety Precautions I Should Consider?
Consider several safety precautions when using a desk converter.
First, verify the converter’s weight capacity isn’t exceeded; this prevents structural failure.
Second, avoid placing your hands near pinch points during adjustments to prevent injury.
Third, maintain proper posture while lifting, as this minimizes strain on your back.
Finally, secure the converter firmly to avoid wobbling or tipping, which can disrupt your workspace and pose safety risks.
Always prioritize stability and ergonomics.
Can I Add Electrical Outlets to My Desk Converter?
Yes, you can add electrical outlets to your desk converter.
Consider using clamp-on power modules for easy installation—they attach to the desk edge without permanent modifications.
Alternatively, under-desk power strips offer concealed access and can be mounted with adhesive pads.
Make sure the outlet doesn’t obstruct the height adjustment mechanism, and use cable management tools to keep cords organized.
Always follow safety guidelines, including using grounded outlets and surge protectors for sensitive devices.
Conclusion
Building a DIY standing desk converter lets you create a workspace tailored to your needs.
By following the outlined steps, you’ll enhance productivity and promote better posture.
Careful consideration of dimensions and materials helps your converter blend seamlessly into your environment.
Customization options abound, so you can refine the design to suit your preferences.
Ultimately, this project transforms your desk into a versatile workstation that fosters both comfort and efficiency.